Introduction
Most kitchens have one lighting problem: the ceiling light is behind you, so your own shadow falls exactly where you chop, read a recipe, and pour. Under cabinet lighting fixes that one problem directly, by putting light in front of you, low down, right over the counter.
Most competitor guides just rank products. This guide is different: it starts with placement, power, and colour, because those three choices decide whether your new lights look professional or disappointing, whatever brand you buy. It also covers the gap most guides skip, how to get good under cabinet light with no wiring at all, which matters for renters and finished kitchens.
Before you buy anything, measure each cabinet run, check where your nearest outlet is, and look at your countertop. A glossy counter will reflect every bare diode, while a matte counter is more forgiving.
Idea 1: Continuous LED strip lights in a diffuser channel
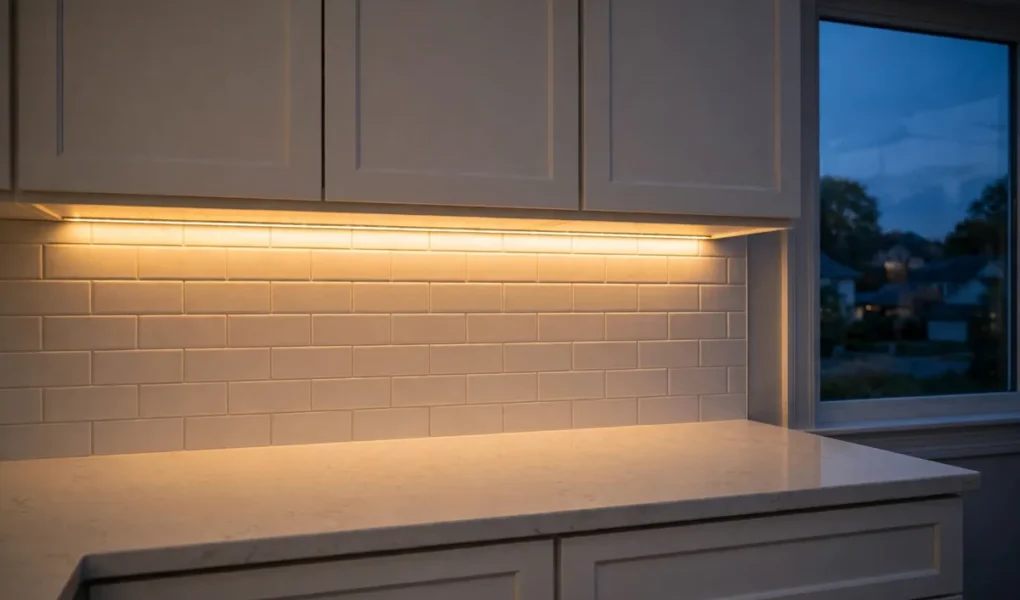
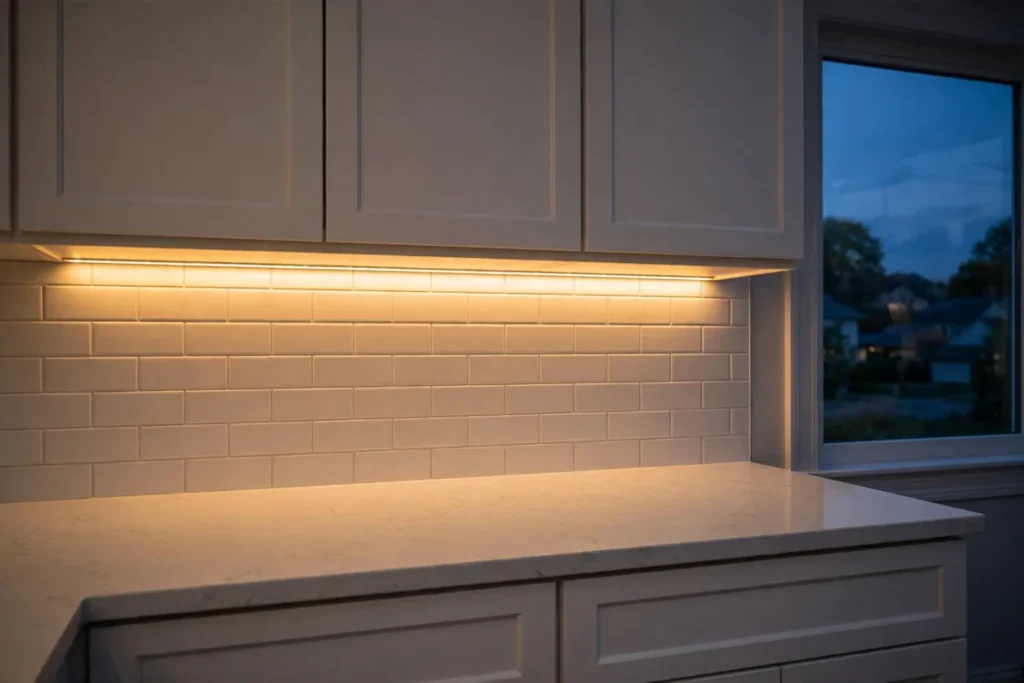
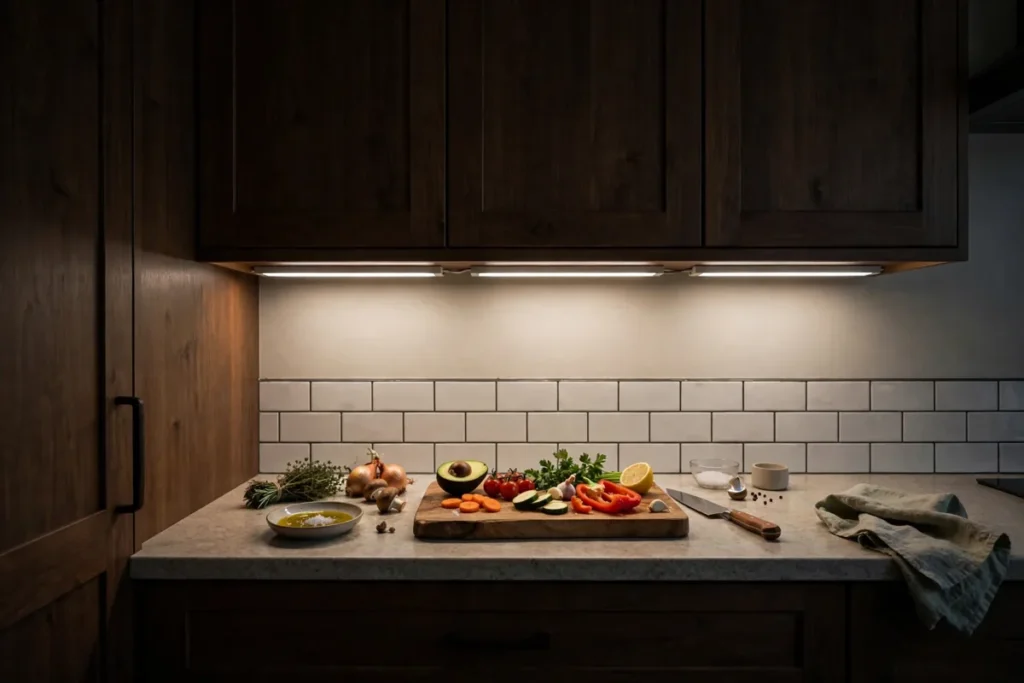
LED strips are the best all round choice for most kitchens. They are flexible, they can be cut to length at marked points, and they give one continuous line of light with no dark gaps between fixtures.
The mistake is to stick a bare strip straight to the cabinet and leave it. On a glossy quartz or granite counter, you will see a row of bright dots reflected back at you. Put the strip in a slim aluminium channel with a frosted diffuser cover. The diffuser turns the dots into one smooth line, the channel protects the strip from grease and heat, and the whole thing looks built in rather than stuck on.
Placement matters more than brightness. Mount the strip toward the front lip of the cabinet, not against the backsplash. A strip at the back lights the wall and leaves the front of the counter in shadow.
For runs longer than about 16 feet, choose 24V strips rather than 12V, so the far end does not dim. Aim for about 200 to 300 lumens per foot, and a colour rendering index, CRI, of 90 or higher, so food looks natural.
Idea 2: Linkable LED bar lights for a clean hardwired look
If you want the cleanest, easiest to clean result, choose rigid LED bars. There are no exposed diodes to wipe, no channel to fill with grease, and linkable bars join together with short cables so one power supply can serve a whole run.
Bars are the right choice when you are remodelling, when you have an electrician already on site, or when you want a wall switch rather than a remote. Many bars now offer selectable colour temperature, so you can set warm, neutral, or cool white on site instead of guessing in the shop.
Size the bar to the cabinet, not the wall. Cover at least two thirds of each run, and use the same colour temperature across every bar in the room, or the kitchen will look patched together.
Idea 3: No wiring options for renters and finished kitchens
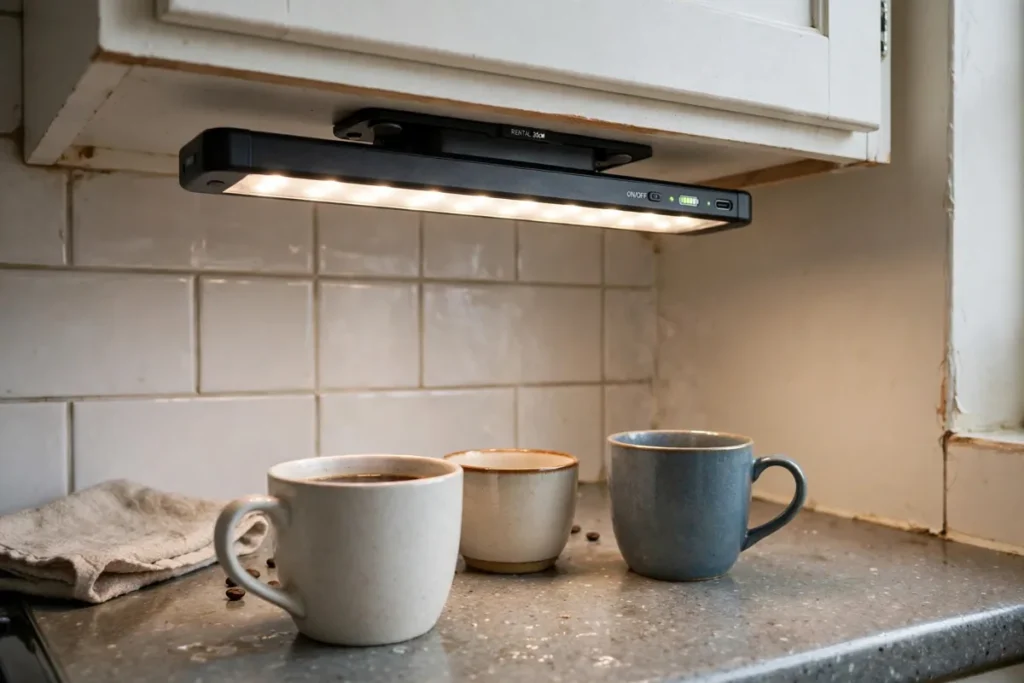
You do not need an electrician to get good under cabinet light. Plug in LED strips and bars need only a nearby outlet, and battery or USB rechargeable bars and pucks need no outlet at all. That makes them ideal for renters, for finished kitchens with no spare wiring, and for a single dark corner you want to fix this weekend.
Rechargeable bars usually mount with adhesive plates or magnets, so you can lift the light off to charge it without removing the mount. For a main prep counter used every day, a plug in bar is usually better than battery, because it gives steady brightness and never runs flat halfway through cooking.
Puck lights have a place, but use them carefully. One puck gives a pool of light with darker gaps around it, so a row of pucks spaced too far apart looks dated and leaves shadows. Use pucks for short spans under 18 inches, inside glass cabinets, or as accent light over a coffee bar, and use strips or bars for the main work counters.
Costs show why this is a good first upgrade. A plug in strip kit is often 20 to 80 dollars, while a hardwired installation is often 200 to 500 dollars once labour is included.

Idea 4: Choose the right colour, brightness, and dimming
Colour temperature is measured in Kelvin, and it changes how your whole kitchen feels. Warm white at 2700K to 3000K is cozy and suits wood cabinets and traditional kitchens. Neutral white at 3500K to 4000K is crisper, shows food colours accurately, and suits white cabinets and modern kitchens. Daylight at 5000K and above can feel clinical at dinner time.
For most kitchens, 3000K is the safest single choice, and 4000K is best if you do a lot of detailed prep. If you cannot decide, buy selectable white fittings, which let you switch after installation. Test the colour at night, not just in a bright shop.
Dimming is what makes under cabinet light work all day: bright for chopping, softer for morning coffee, and a low glow in the evening. Check that your dimmer, driver, and lights are compatible before you buy, because mismatched dimming causes flicker.
Finally, layer the light. Under cabinet lights handle the task, but they work best with a soft ceiling light for general brightness. One bright source alone creates harsh contrast, while layers make a small kitchen feel bigger and calmer.
What to avoid
- Mounting strips against the backsplash, which lights the wall and leaves the front of the counter dark
- Bare strips on glossy counters, which reflect a row of bright dots
- Mixing warm and cool white fittings in the same kitchen
- Puck lights spaced far apart over a main prep counter, which leaves scalloped shadows
- Buying before you plan where the driver, cables, and switch will hide
- Choosing the brightest daylight fitting by default, which can feel harsh at night
- Skipping a diffuser or CRI check, so food colours look dull or unnatural
Frequently asked questions
Do under cabinet lights need to be hardwired?
No. Plug in LED strips and bars and battery or USB rechargeable lights need no electrical work. Hardwired fittings look cleaner, with no visible cords, and can run from a wall switch, but they need an electrician. For a finished kitchen or a rental, start with plug in or rechargeable.
What colour temperature is best for under cabinet kitchen lighting?
3000K warm white is the most popular all round choice, and 4000K neutral white is better for modern kitchens and detailed prep. Avoid 5000K and above unless you want a very clinical look. If you are unsure, choose a selectable colour fitting so you can change it after installation.
How bright should under cabinet lights be?
Aim for about 200 to 300 lumens per foot for good task lighting, or 300 to 500 lumens per foot if you do a lot of detailed prep. Look for a CRI of 90 or higher so food looks natural. Lumens matter more than watts when you compare LED fittings.
Are rechargeable under cabinet lights bright enough?
Many are bright enough for everyday countertop tasks, especially newer bars with adjustable brightness, but they are usually not as bright as a hardwired bar over a long run. For a main prep counter, plug in is steadier. For a pantry, cupboard, or short run, rechargeable is often ideal.
Where should I place under cabinet lights?
Toward the front lip of the cabinet, not against the backsplash, so light falls on your hands and the front of the counter. Cover at least two thirds of each run, keep colour temperature consistent across the room, and use a diffuser on strips to avoid dotted reflections.
Can under cabinet lights be dimmed?
Most good LED bars and strips can be dimmed, but you must match the dimmer to the driver and the fitting. Check compatibility before buying, because a mismatched dimmer can flicker or buzz. Dimmable, tunable white fittings give you bright prep light by day and soft evening light at night.
Conclusion
Start with the job, not the product. For a continuous main counter, use an LED strip in a diffuser channel mounted near the front lip. For a clean permanent look, use linkable LED bars sized to each cabinet. For a rental or a finished kitchen, use a plug in or rechargeable option and upgrade later only where it earns it. Then choose 3000K for warmth or 4000K for crisp prep light, check CRI and lumens, and add dimming.
That one low, well placed layer of light removes the shadow that makes cooking harder, makes a small kitchen feel brighter, and makes every other upgrade look better, from new cabinets and countertops to a new backsplash. Plan the driver and cables first, test the colour at night, and your kitchen will look intentional rather than improvised.