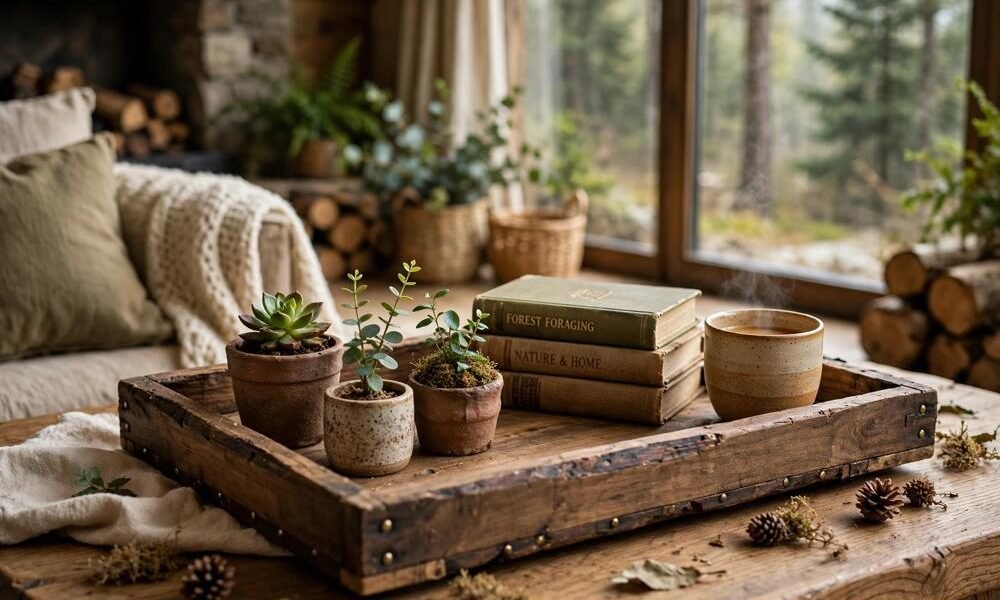
Forest DIY works best when it is simple, safe and easy to live with. You do not need a workshop, expensive tools or a whole weekend for every project. Start with one small project, use materials you already have or can find safely, and finish it properly, with anchoring, cleaning and safe lighting, before starting the next one. A few well-made forest pieces will do more for a room than a shelf full of half-finished projects.
Key takeaways
- Start with one small, finishable project, such as a wooden tray, a pressed leaf frame or a moss display.
- Clean any found branches, pinecones or moss before bringing them indoors, and check local rules before collecting.
- Anchor shelves and tall pieces to the wall where the maker says to, and respect adhesive hook weight limits.
- Use LED and low-heat lights near dried material, fabric and paper, and never place an open flame near them.
- Renter-friendly projects use freestanding, removable or adhesive methods, with landlord permission where needed.
- Choose projects that match your tools, time and skill, and ask a qualified person for any wiring or heavy fixing.
- Keep DIY pieces easy to clean, easy to move and easy to remove, so the room stays liveable.
- One or two DIY pieces per room is enough; a room full of DIY will feel cluttered, not woodland.
1. Before You Start: Materials, Tools and Safety
A good forest DIY starts with a plan, not a shopping trip. Choose a project, list the materials and tools you need, and check that you have a safe place to work, with good light and ventilation. A basic kit, such as a measuring tape, a pencil, a hand saw or a craft knife where safe, sandpaper, wood glue, screws or adhesive hooks, a paintbrush and a cloth, will cover most small forest projects. Wear eye protection when cutting or sanding, keep tools away from children and pets, and follow the maker instructions for every glue, paint and fixing you use.
Found material needs care. Branches, pinecones, moss and leaves should be collected only where it is allowed, never from protected land, and they should be cleaned and dried before use, following the safety notes in the pillar guide. Check for insects, mould or damp, and discard anything that looks unhealthy. Wash hands after handling found material, and keep found material away from candles, fairy lights, radiators and other heat sources, because dried material can catch fire.
Fixing matters more than looks. A shelf, a mirror or a tall piece that is not anchored can fall and injure someone, especially in a home with children or pets. Follow the maker instructions for wall fixings, use the right fixing for your wall type, and anchor tall or heavy pieces where the maker says to. Adhesive hooks are useful for light items, but only within the weight limit the maker gives, and only on a surface that can take them. If a project needs wiring, a new socket or a heavy wall fixing, use a qualified person, rather than guessing.
2. Wooden Tray and Wooden Board Projects
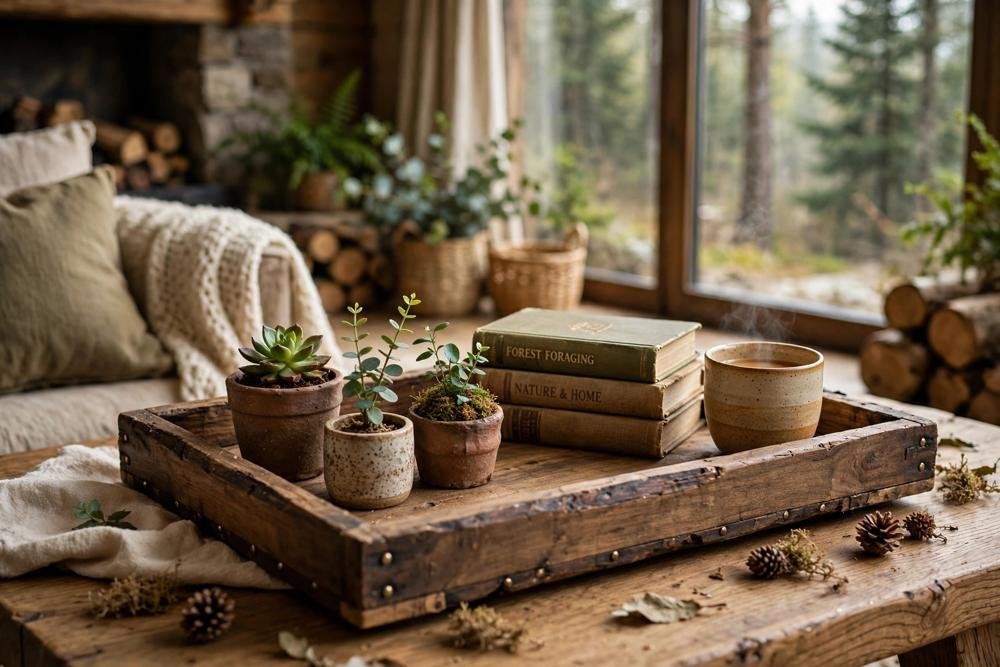
A wooden tray is the easiest forest DIY, and the most useful. A plain wooden tray, a wooden board or a chopping board you already own can be sanded lightly, oiled or painted in a warm wood tone, and used for plants, candles in safe holders, books or a cup of tea. A tray will gather small items into one calm group, which is exactly what a forest room needs, and it can be moved from room to room, cleaned easily and removed without a trace.
A wooden board project can go further. A long, narrow board can become a shelf for plants, a short board can become a plant stand, and a set of boards can become a simple wall shelf, if it is fixed safely. Sand edges smooth, so no splinters catch on hands or fabric, and finish wood with a food-safe or furniture-safe finish where needed, following the maker instructions. Keep wooden trays and boards away from water unless they are sealed for that use, and dry them after cleaning, so they do not warp or mould.
For a first project, choose a tray or a board, not a whole shelving unit. A tray can be finished in an afternoon, it needs no wall fixing, and it will teach you sanding, finishing and styling, without the risk of a heavy wall fixing. Once a tray feels easy, a small shelf is the next step, with proper wall fixings and a weight test before anything is placed on it.
3. Pressed Leaf Art and Botanical Frames
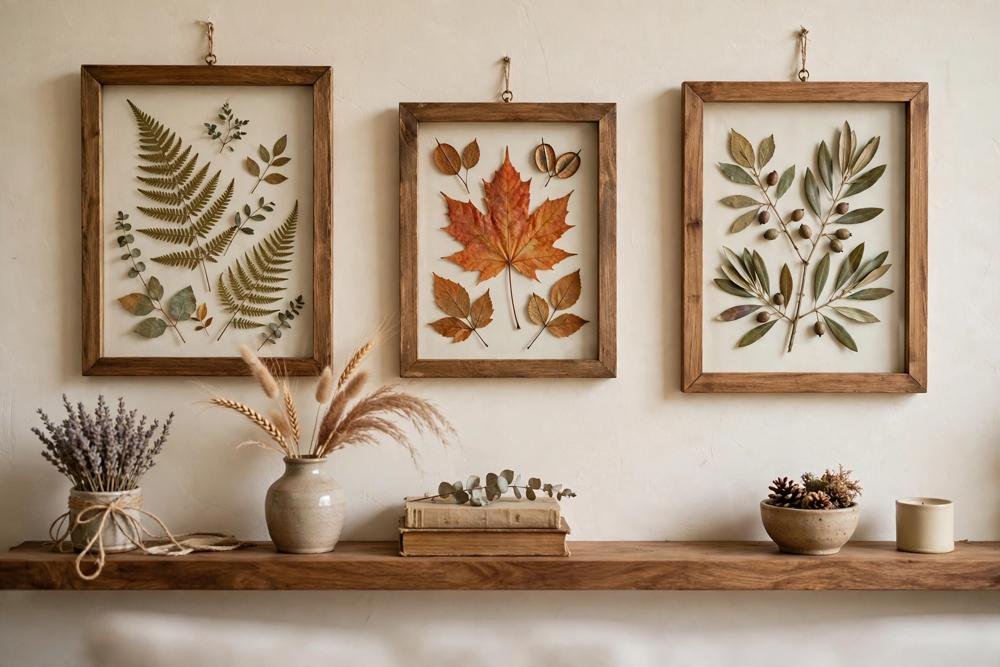
Pressed leaf art is a calm, low-cost forest DIY that suits any room. Collect leaves only where allowed, press them between paper under a heavy book for a week or two, and frame them in a simple wooden or glass frame. A single large leaf, a small group of leaves in the same green family, or a pressed fern will look more forest-like than a crowded collage of many different leaves, and it will be easy to hang, move and clean.
Framing matters. A frame with glass will protect pressed leaves from dust and handling, while a frame without glass will let leaves fade and crumble faster. Hang pressed leaf art away from direct sunlight, because sunlight will fade green quickly, and away from radiators and damp walls, because heat and moisture will damage paper. A pressed leaf frame on a shelf, leaning against a wall, is a renter-friendly option that needs no drilling at all.
Pressed leaf art can also be made from leaves you already have at home, such as leaves from a houseplant that has been pruned, rather than from a walk. This is a good option if you are unsure about local collecting rules, or if you want leaves that match your home plants. Pressed art from your own plants will also be easier to identify, and you will know it is safe for your home, without the risk of an unknown plant.
4. Moss Displays and Terrariums
A moss display or a small terrarium can bring a forest floor indoors, in a contained and easy-to-care-for way. A glass jar, a glass bowl or a small terrarium container, with a layer of stones, a layer of soil and a layer of moss, can become a beautiful, low-maintenance display, if it is made with moss that suits indoor conditions and if it is not overwatered. A moss display should be placed where it gets indirect light, not direct sun, and where it will not be knocked over.
Terrariums need balance. Too much water will cause mould, too little will dry moss out, and a sealed terrarium with no airflow can overheat in direct sun. Follow the maker or plant seller instructions for the moss and plants you use, water sparingly, and open a sealed terrarium occasionally for airflow, if the maker says to. Keep terrariums away from radiators, candles and fairy lights, and keep them out of reach of pets and small children if the plants or materials are not safe for them.
A moss display can also be made without a terrarium. A shallow bowl with moss, a few stones and a small plant, on a wooden tray, will give the same forest feeling, with easier watering and cleaning. A moss bowl can be moved, cleaned and refreshed easily, and it can be removed without a trace, which makes it a good renter-friendly project. If moss does not thrive in your light, replace it with a hardy houseplant, rather than buying the same moss again.
5. Wooden Shelves and Plant Displays
A wooden shelf is the most useful forest DIY for plants, because it gives trailing plants a place to grow and gives a room height without taking floor space. A small, freestanding shelf, a leaning shelf or a wall shelf, if fixed safely, can hold plants, books and a mushroom lamp, and can link a room together. A low, open shelf is better than a tall, closed bookcase for a forest room, because it lets light through and gives plants room to trail.
Wall shelves need proper fixing. Use the fixing that matches your wall type, follow the maker instructions, and test the shelf with a light weight before placing plants or heavy items on it. Anchor tall or leaning shelves where the maker says to, and keep heavy items low, so a shelf does not become top-heavy. If you are renting, a freestanding or leaning shelf is a safer choice than a wall shelf, because it needs no drilling, and it can move with you.
Plant displays on shelves should be planned for light and watering. Place plants where they get the light they need, keep trailing plants where they will not block walkways, and place a tray or a saucer under each pot, so watering does not damage wood. A shelf with a mix of tall, trailing and small plants will give height, middle and low green, without needing many pots. Keep plants away from radiators, television heat and places where they will be knocked by doors or pets.
6. Textile and Soft DIY Projects
Textile DIY is the softest forest project, and the easiest to change with the seasons. A cushion cover in green linen, a throw in wool or chunky knit, a table runner in natural cotton or a curtain panel in cream or sage can be sewn, or bought plain and dyed or decorated, to match a forest palette. Textiles can be changed in summer and winter, washed easily, and removed without a trace, which makes them ideal for renters and shared homes.
A simple textile project, such as sewing a cushion cover from green linen, needs only basic sewing skills, a measuring tape and a sewing machine or hand sewing. Choose fabric that can be washed, because cushion covers, throws and runners will need cleaning, and choose a colour that matches your palette, rather than a new green that will compete with it. A single patterned cushion, such as a leaf print, can be the accent, with the rest plain in cream, green or natural linen.
Textile DIY should also be safe. Keep fabric away from bulbs, candles and other heat sources, use LED and low-heat lights near curtains and throws, and choose washable fabric for homes with pets or children. A throw or a cushion that cannot be washed will quickly look tired in a lived-in room, however beautiful it is at first. If sewing is new to you, start with a simple cover, not a whole set of curtains, and enjoy finishing one piece well, rather than starting many pieces at once.
7. Renter-Friendly and Weekend Projects
Renter-friendly forest DIY uses methods that can be removed without damage. Freestanding shelves, leaning mirrors, wooden trays, pressed leaf frames on shelves, moss bowls, cushion covers and battery string lights can all be used without drilling, painting or wiring. Adhesive hooks can hold light items, but only within the maker weight limit, and only with landlord permission where needed. Peel-and-stick wallpaper can work on one wall, but only after a test patch and landlord permission where needed, and only if it can be removed cleanly.
A weekend project should be finishable in a weekend, not just started. Choose a project with a clear finish, such as a tray, a frame, a moss bowl or a cushion cover, and finish it, clean it and place it, before starting another. A room with one finished DIY piece will feel more forest-like than a room with five half-finished projects, tools and materials everywhere. If a project takes longer than a weekend, break it into stages, with a safe stopping point between each stage, so the room is never left unsafe or cluttered.
Shared homes should agree on DIY before starting, especially for wall fixings, paint or large pieces. Agree on the palette, the place and the size, and keep shared surfaces clear, with one shelf or one tray for DIY pieces, rather than DIY on every surface. A forest DIY should be a place everyone wants to live with, not a project that only one person enjoys, and it should be easy to remove or change if tastes change.

8. What to Avoid
Forest DIY fails most often by being unsafe, too big, or too themed. Avoid wall shelves, mirrors or tall pieces that are not anchored, adhesive hooks loaded beyond their limit, and wiring or heavy fixings done without a qualified person. Avoid found material that has not been cleaned, collected from protected land, or placed near candles, fairy lights or radiators, because dried material can catch fire and unclean material can bring insects or mould indoors.
Avoid DIY that is too themed or too numerous. A room with a branch chandelier, a log table, a moss wall, a mushroom lamp, a pressed leaf wall and a bark frame together will feel like a display, not a home. Choose one or two DIY pieces per room, in the same palette, and let the rest be calm. Avoid DIY that cannot be cleaned, moved or removed, because a forest room should be easy to live in, clean and enjoy, not a room you are afraid to use.
Avoid starting a project you do not have the tools, time or skill to finish safely. A half-finished shelf, a half-painted wall or a half-wired light is worse than no project at all, because it leaves a room unsafe or cluttered. Start small, finish well, and enjoy one good piece, rather than starting many projects at once. If a project feels too big, break it down, ask for help, or choose a smaller version that you can finish in a weekend.

Conclusion
Easy forest DIY is about finishing small, safe and useful pieces, not about filling a room with themed projects. Start with a tray, a pressed leaf frame, a moss bowl or a cushion cover, clean found material, anchor shelves properly, use LED and low-heat lights near dried material, and keep pieces easy to clean, move and remove. Done that way, DIY will give a room character, warmth and a personal touch, without making it cluttered, unsafe or hard to live in. The other guides in this series will help you carry the same calm into every room, with palettes, lighting and plants that work with your DIY pieces, not against them.
Related reading
- Forest Home Decor: The Complete Guide to Bringing the Woods Indoors
- Forest Themed Bedroom Ideas for Adults
- Forest Kitchen Decor Ideas Without a Remodel
- Forestcore vs Cottagecore vs Cabincore vs Goblincore vs Mushroomcore
- Forest Living Room Ideas for a Calm Woodland Home
- Forest Green and Moss Colour Palettes for Every Room
- Forest Lighting Ideas for a Warm Woodland Glow
Frequently Asked Questions
What is the easiest forest DIY project for a beginner?
A wooden tray, a pressed leaf frame or a moss bowl is the easiest start, because each can be finished in a weekend, needs no wall fixing or wiring, and can be moved or removed easily. Start with one project, finish it well, and then try a small shelf or a cushion cover, rather than starting many projects at once.
Is it safe to bring branches and pinecones indoors?
Found branches and pinecones can be used, if they are collected only where allowed, never from protected land, and cleaned and dried before use. Check for insects, mould or damp, discard anything unhealthy, and keep dried material away from candles, fairy lights, radiators and other heat sources, because dried material can catch fire.
Can I do forest DIY in a rented home?
Yes. Use freestanding shelves, leaning mirrors, wooden trays, pressed leaf frames on shelves, moss bowls, cushion covers and battery lights, which need no drilling, painting or wiring. Use adhesive hooks only within the maker weight limit and with landlord permission where needed, and use a qualified person for any wiring or heavy fixing.
How do I hang a wooden shelf safely?
Use the fixing that matches your wall type, follow the maker instructions, anchor tall or leaning shelves where the maker says to, and test the shelf with a light weight before placing plants or heavy items on it. Keep heavy items low, so the shelf does not become top-heavy, and ask a qualified person if you are unsure about your wall type.
How do I care for a moss terrarium?
Place a moss terrarium in indirect light, not direct sun, water sparingly, and follow the maker or plant seller instructions for airflow. Too much water can cause mould, too little can dry moss out, and direct sun can overheat a sealed terrarium. Keep it away from radiators, candles and fairy lights, and out of reach of pets or small children if the plants are not safe for them.
How many DIY pieces should a forest room have?
One or two DIY pieces per room is enough, in the same palette as the rest of the room. A room full of DIY, with a branch chandelier, a log table, a moss wall and many themed frames together, will feel cluttered, not woodland. Choose pieces that are useful, easy to clean and easy to remove, and let the rest of the room stay calm.