Introduction
A rental bedroom can still feel finished, calm, and personal without a single drill hole. The trick is to work in the right order. Most renters start by buying wall decor, then discover that nothing will stay up safely, or that removing it later takes paint with it. A better plan starts with the largest surfaces in the room, adds height and softness without tools, and only uses adhesive products where the surface, weight, and removal method all suit them.
This guide is built around one goal: a bedroom you enjoy living in now, and a deposit you can protect later. You will use bedding, rugs, curtains, leaning pieces, and carefully chosen adhesive fixings, with each step practical, reversible, and easy to undo in the right order.
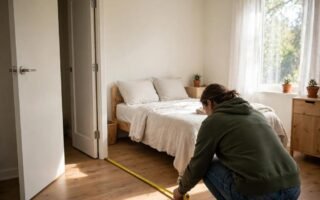
Before you buy anything, check your tenancy agreement. Some landlords allow adhesive strips, while others ban all wall fixings. Take dated photos of every wall, window frame, door, and skirting board on the day you move in, so you have protection if a mark was already there.
Key takeaways
- A rental bedroom can feel finished without drilling, by working with bedding, rugs, and freestanding pieces first.
- Use tension rods, clip-on curtains, leaning mirrors and art, and adhesive fixings only where they are rated for the job.
- Check weight, surface, and removal rules before sticking anything, to protect your deposit.
- Photograph the room before decorating and keep a move-out reversal plan.
Idea 1: Start With Bedding and a Rug, Not the Walls
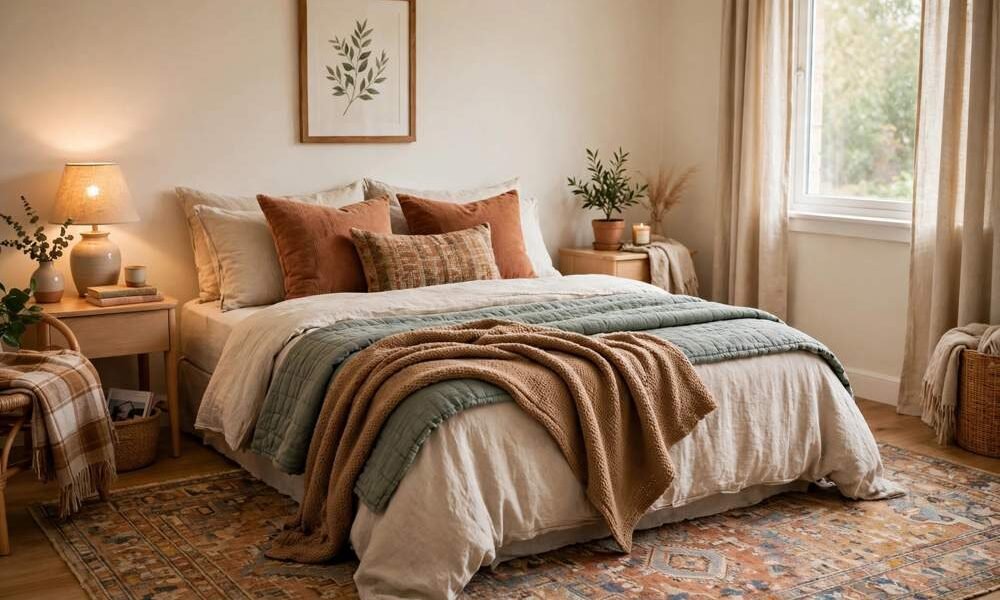
Bedding and a rug change more of a bedroom than any wall decoration. The bed is usually the largest object in the room, and the floor is the largest empty surface. When both look intentional, the room feels decorated even before you hang a single frame.
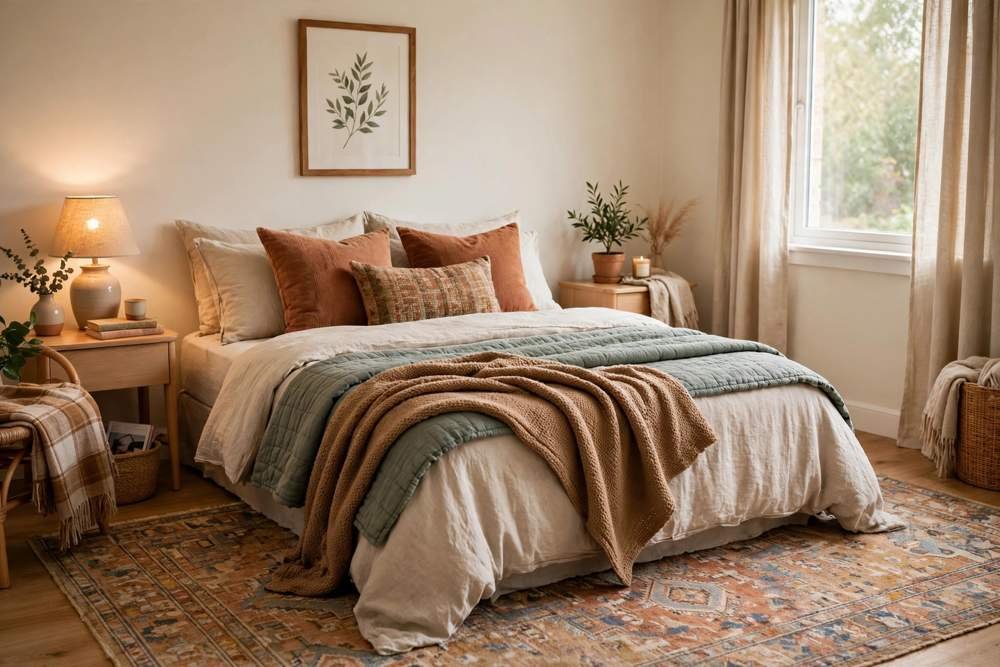
Choose bedding in one clear colour family, then add one or two layers for texture. A plain duvet cover, a folded throw across the foot of the bed, and two sleeping pillows plus one or two cushions are usually enough. Too many cushions look busy in a small rental room, and they end up on the floor every night. Washable covers matter in a rental, because you can refresh the look without buying a new duvet.
For the rug, size matters more than pattern. A rug that only sits under the bed and disappears at the sides can make the room look smaller. In most bedrooms, a rug that extends beside the bed, so your feet land on softness in the morning, works better than a tiny rug floating in the middle of the floor. If your landlord has fitted carpet, a flat-weave rug can still define the sleeping area and add colour. If you have hard floors, a thicker rug will also soften sound.
Keep the palette simple: one main neutral, one deeper accent, and one natural material such as cotton or linen. This also makes the bedding and rug easier to reuse in your next home.
Idea 2: Use Tension Rods and Clip-On Curtains for Soft Height
Curtains add height, privacy, and warmth without drilling, but only if the rod suits the window. A tension rod works inside a window recess when both sides are solid and the rod is tightened correctly. It is not a good choice for a very wide window, a heavy blackout curtain, or a recess with crumbling plaster. Test the rod first with light fabric, then add heavier curtains only if it stays firm.

Hang curtains as high and as wide as the recess allows. This makes the window look taller and lets more light in during the day. A sheer layer gives daytime privacy, while a blackout layer helps with sleep. If one rod cannot hold both layers, use two light tension rods, or use a sheer curtain on the tension rod and a portable blackout blind that fits inside the frame.
For windows without a suitable recess, try a freestanding curtain frame. Avoid screwing a new rail into a window frame unless you have written permission, because frame damage is harder to repair than a wall mark.
Curtains that just brush the floor look tidier than curtains that pool, especially in a small room. If they are too long, fold the top over the rod or use clip rings to shorten them without cutting.
Idea 3: Lean a Mirror and Art Against the Wall
Leaning decor is one of the safest ways to add a focal point to a rental bedroom. A large mirror leaning against a wall reflects light, makes a small room feel wider, and needs no fixing at all. The key is to choose the right size, place it safely, and stop it from sliding.
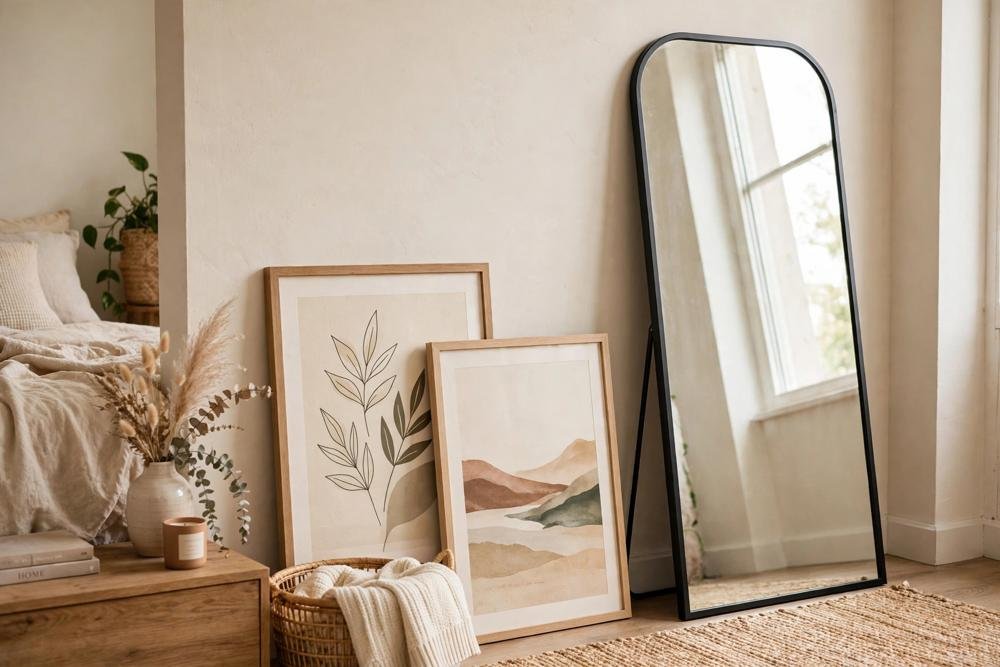
Place a leaning mirror on a stable floor, against a flat wall, and angle it slightly back so its weight rests on the wall. Keep it away from doors, busy walkways, and places where children or pets might knock it. A small non-slip pad under the base can stop it from sliding on hard floors. For safety, very tall or heavy mirrors should be secured only if your tenancy allows a proper fixing, or they should be replaced with a lighter, smaller mirror that can lean safely.
Leaning art works in the same way. A large framed print on a chest of drawers, or a smaller frame on a bedside table, adds colour without a nail. Group two or three frames at different heights, and save wall-hung art for adhesive products only after you have checked the surface and weight rules below. Many renters find that one mirror and one leaning frame are enough.
Idea 4: Use Adhesive Fixings Only Where They Are Rated for the Job
Adhesive strips and hooks can work well in a rental, but they are not all the same. The most common mistake is using a strip rated for a light frame to hold a heavy mirror, or sticking it to a surface that will peel when it is removed. Read the weight rating on the packet, weigh the item if you are unsure, and stay well below the maximum.
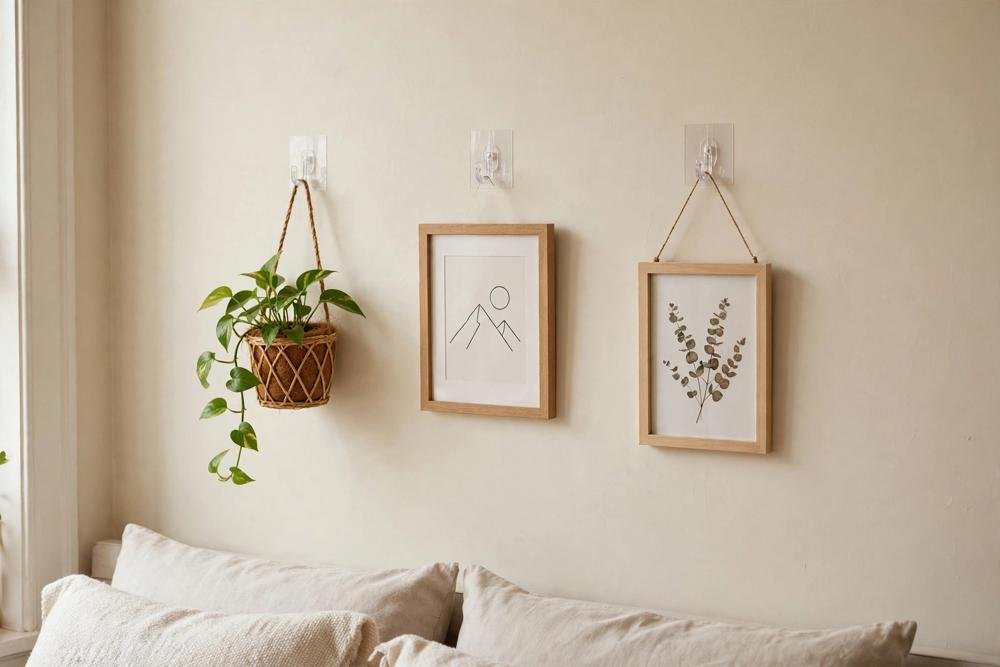
Start with a test patch in a hidden spot, such as behind a door or inside a wardrobe. Leave the strip for at least 24 hours, then remove it exactly as the instructions say, usually by pulling a tab slowly downward. If paint lifts, the surface is not suitable, and you should use leaning decor or freestanding furniture instead. Never test a strip on the most visible wall first.
Clean the surface before you stick anything to it. Dust, grease, and damp will weaken the bond and increase the chance that the item falls. Apply the strip to a clean, dry, flat surface, press firmly for the time stated on the packet, and wait before hanging the item. Hanging straight away is a common reason for failure.
Peel and stick wallpaper follows the same logic. It can create an accent wall without paint, but it needs a smooth, clean wall and a careful test patch. Avoid it on textured paint, fresh paint, damp walls, or walls with peeling paint. Measure the wall, buy a little extra for matching the pattern, and keep the backing paper and instructions for removal day.
A Deposit-Safe Checklist by Surface
Not every wall behaves the same way, so match your method to the surface.
Painted drywall is the most common rental surface. Light adhesive strips can work on smooth, well-bonded paint, but they can lift paint that is old, thin, or already loose. Test first, use the correct weight rating, and remove strips slowly.
Textured paint is harder. Adhesive strips may not grip evenly, and removal can pull off the raised texture. Leaning decor, freestanding shelves, and furniture-based displays are safer choices here.
Plaster walls, especially in older homes, can be uneven and fragile. Avoid heavy adhesive fixings, and do not use suction cups on rough plaster. A leaning mirror, a tall bookcase, or a wardrobe can give you display space without touching the wall.
Brick and concrete need a different approach. Standard adhesive strips often fail on rough brick, and drilling is usually banned in rentals anyway. Use freestanding shelving, a leaning mirror, or a floor-standing coat rack instead of trying to force a wall fixing.
In every case, keep a simple record of what you stuck where and which product you used. That makes removal faster and helps you spot problems before your final inspection.
Weight, Placement, and Removal Rules That Protect Your Deposit
A few simple rules will prevent most rental decorating problems. First, never hang anything heavy directly above a bed or a pillow. Even a well-rated strip can fail if the surface is damp or dusty, and a falling frame is a safety risk. Use leaning art on furniture instead, or keep heavy pieces at floor level.
Second, spread weight across several fixings where possible, rather than hanging everything from one hook. A row of light frames is safer than one large, heavy frame on a single strip. Third, avoid sticking anything to radiators, heaters, or surfaces that get hot, because heat can weaken adhesive.
Fourth, plan removal before you stick. Read the removal instructions when you buy the product, not on moving day. Most strips need a slow, steady pull at the correct angle. Pulling quickly or sideways is more likely to damage paint. Keep a hairdryer, a clean cloth, and a gentle adhesive remover approved for your surface, and test any cleaner in a hidden spot first.
Finally, check your fixings every few months for lifting edges or tilting items, and replace a failing strip before the item falls.
Your Move-Out Reversal Plan
A good rental makeover should be easy to reverse. Start removal with the smallest and lightest items, then work toward larger pieces. Remove adhesive strips one at a time, following the packet instructions. Clean each area as you go, rather than leaving all the cleaning until the end.
Next, take down curtains, tension rods, and freestanding items, and return furniture to its original position if your tenancy requires it. Then walk through the room in daylight, compare it with your move-in photos, and deal with any scuffs, marks, or residue while you still have time.
For light residue, warm water and a soft cloth are often enough. For stubborn marks, use only a cleaner that is safe for your surface, and test it first. Do not repaint a whole wall without checking your tenancy agreement, because a mismatched colour can be worse than a small mark. If you do need to touch up paint, ask your landlord which paint was used, and keep the receipt.
Take dated photos again after everything is removed. This final set proves the condition in which you left the room. It is a simple habit, but it can save a deposit dispute.
What to Avoid
Avoid drilling, even for one small hole, unless you have written permission. One hole can lead to patching, sanding, and repainting, and it can set a precedent for other fixings.
Avoid heavy mirrors above beds, large adhesive panels on textured paint, and peel and stick wallpaper on damp or freshly painted walls. Avoid buying a full matching decor set before you know the room. A rental bedroom usually needs fewer, better pieces, not more clutter.
Avoid gluing anything directly to a wall, using nails disguised as adhesive, or covering damage with furniture at inspection time. Honest, reversible decorating is easier to explain and cheaper to undo.
FAQs
How can I hang things in a rental bedroom without drilling?
Use leaning mirrors and art, freestanding shelves, tension rods for curtains, and adhesive strips or hooks only for light items on a tested, suitable surface. Start with bedding and rugs, then add height with curtains and leaning pieces before you use any adhesive product.
Will adhesive strips damage paint when I remove them?
They can, especially on old, thin, textured, or poorly bonded paint. Always do a hidden test patch first, use a strip rated above the weight of your item, and remove it slowly at the angle shown in the instructions. If the test patch lifts paint, choose leaning or freestanding decor instead.
What is the best no drill alternative to a headboard?
A large leaning mirror, leaning frames, peel and stick panels on a suitable wall, or a tall cushion arrangement can all suggest a headboard without fixing one to the wall. For reading comfort, choose a thick cushion or a freestanding headboard that slots behind the bed frame, if it fits.
Can I use peel and stick wallpaper in a rental bedroom?
Yes, on a smooth, clean, dry wall, after a hidden test patch. Avoid textured paint, fresh paint, damp walls, and walls with peeling paint. Keep the instructions and a spare piece, and follow the removal method carefully at move-out time.
How do I make a rental bedroom feel finished without wall decor?
Focus on the bed, the floor, and the window. Layered bedding, a well-sized rug, curtains hung high and wide, a leaning mirror, and one or two pieces of leaning art will usually finish the room. Good lighting, tidy surfaces, and a clear colour palette matter more than a wall full of small frames.
What should I photograph before decorating a rental bedroom?
Take dated photos of every wall, window, door, floor, and skirting board, including close-ups of any existing marks, scuffs, or cracks. Photograph the room again after you remove everything at move-out time, so you have a clear before and after record.
Conclusion
Decorating a rental bedroom without drilling is not about settling for a bare room. It is about choosing methods that suit the room, the surface, and the weight of each item. Start with bedding and a rug, add curtains on a tension rod, lean a mirror and art where they are safe, and use adhesive fixings only after a test patch and a weight check. Keep your move-in photos, follow a simple removal plan, and leave the room in the condition you found it. If your rental bedroom is also short on storage, see our guide to organising a bedroom without a closet. For more on layout, storage, light and style, see Small Bedroom Ideas: The Complete Guide to Layout, Storage, Light and Style.