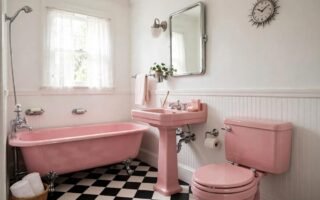
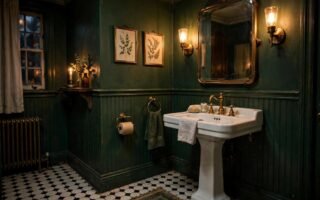
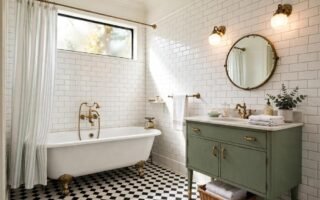
Yes, you can keep or recreate a 1920s bathroom look without gutting the room. Start with the features that define the era, white subway wall tile, a hex or penny tile floor, a pedestal sink, a clawfoot-style tub and nickel fixtures, and restore or echo those pieces before you add anything modern.
Key takeaways
- The 1920s look is defined by white tile, black accents, nickel fixtures and simple, clean shapes.
- If you have original tile or fixtures, restore them first: they are usually better made than modern copies.
- If you are recreating the look, subway wall tile and hex flooring are the two changes that will move it furthest toward the era.
- Check local plumbing codes and get a professional for pipe, drain or electrical changes.
- Keep the palette mostly white and black with nickel, and let one or two details, such as a patterned floor border, add character.
1. Learn the 1920s Features Checklist
Use this checklist to see what your bathroom already has, and what is worth restoring or recreating.
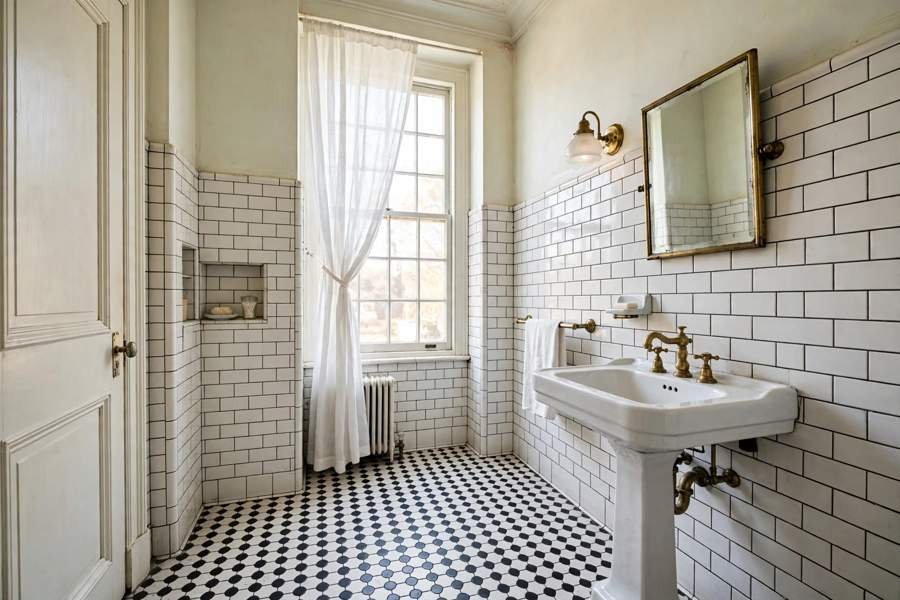
White subway tile on the walls, usually with a darker grout line or a simple cap tile at the top. Hexagon or penny tile on the floor, often white with a black border or a simple pattern. A pedestal sink, with exposed nickel plumbing. A clawfoot tub, or a built-in tub with a simple surround. Nickel taps and hardware, not brass or chrome-look plastic. A simple mirror, often rectangular with a plain frame. A high tank or simple low toilet in white. Small details: a glass shelf, a ceramic soap dish set into the tile, and a simple light with a glass shade.
If your bathroom has two or three of these, you already have a 1920s base. If it has none, subway tile and hex flooring are the two changes that will move it furthest toward the era.
2. Restore Original Tile Before You Replace It
Original 1920s tile is often thicker and better fired than modern copies, and it has a depth of colour that is hard to reproduce. Before you plan a replacement, clean the tile well, regrout where the grout is cracked, and replace only the tiles that are actually broken.
Regrouting a subway wall or a hex floor is a slow job, but it is far cheaper than retiling, and it keeps the original character. If you must replace tiles, save a few originals for matching, and look for salvage or reproduction tiles in the same size, because modern subway tile is often a different size from 1920s tile. A size mismatch shows immediately at the edges.
3. Choose Subway Tile That Looks Right
If you are recreating the look, white subway tile is the safest choice. Keep the layout simple: a straight stack or a running bond pattern, with a simple cap or pencil tile at the top edge. Avoid very large tiles, very glossy coloured tiles, or busy patterns on the main wall, because those read as modern rather than 1920s.
Grout colour matters. A soft grey grout reads as classic and hides dirt better than pure white, while a dark grout makes the tile pattern stand out more sharply. Either can work, but pick one and keep it consistent across the room, so the tile work looks like one job, not a patchwork.
4. Get the Floor Right: Hex, Penny or Checkerboard
The floor is where a 1920s bathroom gets its pattern. Hexagon tile, penny tile and black-and-white checkerboard are all period choices, and each suits a small bathroom.
Hex tile in white with a black border is the classic 1920s floor, and it suits small rooms because the small tiles need few cuts. Penny tile gives a softer, dotted look and grips well underfoot. Checkerboard is bolder and needs careful layout, so the pattern ends evenly at the door and the tub. Whichever you choose, keep the floor pattern as the one strong pattern in the room, and keep the walls and textiles calmer.

5. Pedestal Sinks: Beautiful, But Plan the Storage
A pedestal sink is the most recognisable 1920s bathroom feature. It looks elegant, it shows off the nickel plumbing, and it makes a small bathroom feel more open because you can see the floor underneath.
The trade-off is storage. A pedestal sink has no cabinet, so you need a plan: a small wall cabinet, a shelf above the toilet, a basket for towels, or a freestanding storage piece that suits the era. If storage matters more than the look, a simple vanity in white with nickel pulls can echo the era while giving you a cupboard. Do not force a pedestal sink into a bathroom that needs the storage more than the style.
6. Clawfoot Tubs: What to Check First
A clawfoot tub is the dream piece for many 1920s bathrooms, but it needs checking before you buy. Measure the room, the door, and the floor: a cast iron clawfoot tub is very heavy, and older floors may need strengthening. Check the drain position and the plumbing, because moving a drain is a professional job and can be expensive.
If a real clawfoot tub is not practical, a freestanding modern tub with simple feet, or a built-in tub with a subway tile surround and nickel fittings, can give a similar feeling without the weight and plumbing work. A shower curtain on a ring, hung from the ceiling, completes the 1920s tub look, but it needs a curtain that is long enough and a floor that can handle splashes.
7. Nickel Fixtures and Simple Hardware
Nickel is the 1920s metal. It is softer and warmer than chrome, and it suits white tile better than brass in a 1920s room. Match the nickel across the taps, the shower fittings, the towel rail and the cabinet pulls, so the room reads as one period.
Simple shapes matter as much as the finish. Cross handles, simple lever handles and plain round knobs all suit the era, while very modern square handles or waterfall taps do not. If you are restoring original fittings, clean them gently and replace washers and seals before you replace the whole fitting, because original brass and nickel fittings are often better made than new ones.
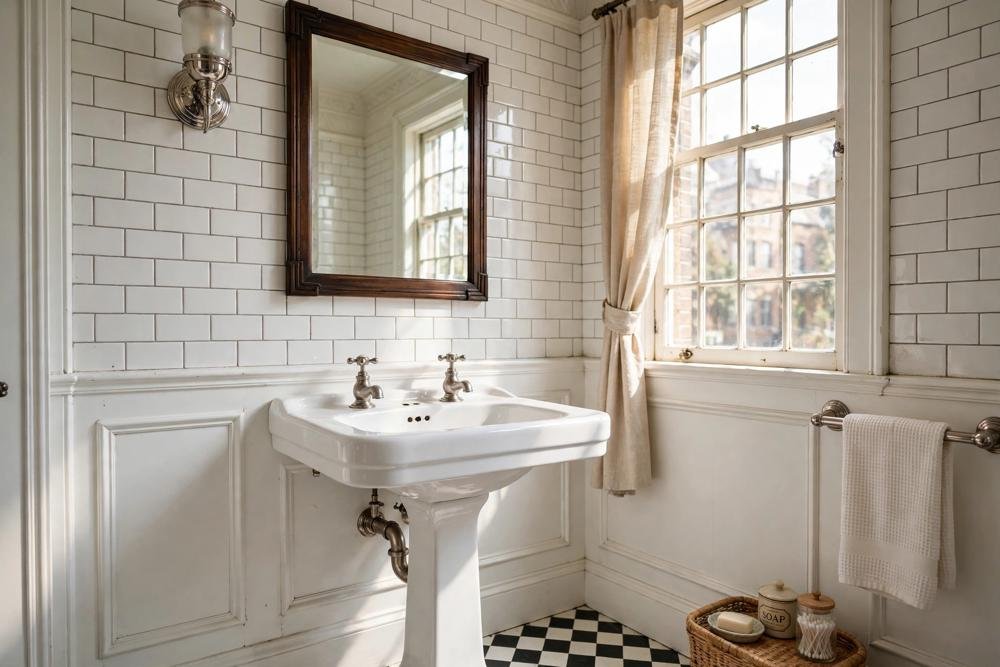
8. Restoration or Replacement: How to Decide
Restoration is usually best when the original feature is sound, rare, or well made: solid tile, a cast iron tub, a pedestal sink in good condition, or original nickel fittings. Replacement is usually best when the original is cracked, leaking, unsafe, or so damaged that repair costs more than a good reproduction.
Ask three questions. Is it safe and watertight? Can it be repaired for less than a good replacement? Does it add character that a new piece cannot copy? If the answer to the first is no, replace it, with professional help. If the answers to the second and third are yes, restore it. Keep a photo record of what you removed, especially if the house has heritage value, and check local rules before you remove original features.
9. Plumbing Codes and Professional Help
Old bathrooms often hide old plumbing: lead pipes, unusual drain sizes, or drains in unexpected positions. Do not guess at plumbing changes. Check local plumbing codes, and get a licensed plumber for pipe, drain and fixture moves, and a licensed electrician for wiring and lighting changes.
This is not just about rules. A wrong drain slope, a wrong pipe size, or a badly sealed tub can cause leaks that damage floors and ceilings, and those repairs cost far more than the original plumbing job. Get a quote, keep the paperwork, and keep the original fixtures if you remove them, because they may be useful for matching or for a future owner.
10. Lighting, Mirror and Small Details
1920s bathroom lighting is simple and glassy: a pair of wall lights beside the mirror, or a single ceiling light with a glass shade, in nickel. Avoid very modern downlights as the only light, because they flatten the period feeling. Warm bulbs suit the era better than very cool white bulbs.
The mirror should be simple: a rectangular mirror with a plain nickel or wooden frame, hung at eye level. Small details finish the look: a glass shelf, a ceramic soap dish, a white ceramic toothbrush holder, and plain white towels. Keep the details few and period-appropriate, so the tile and fixtures remain the stars.
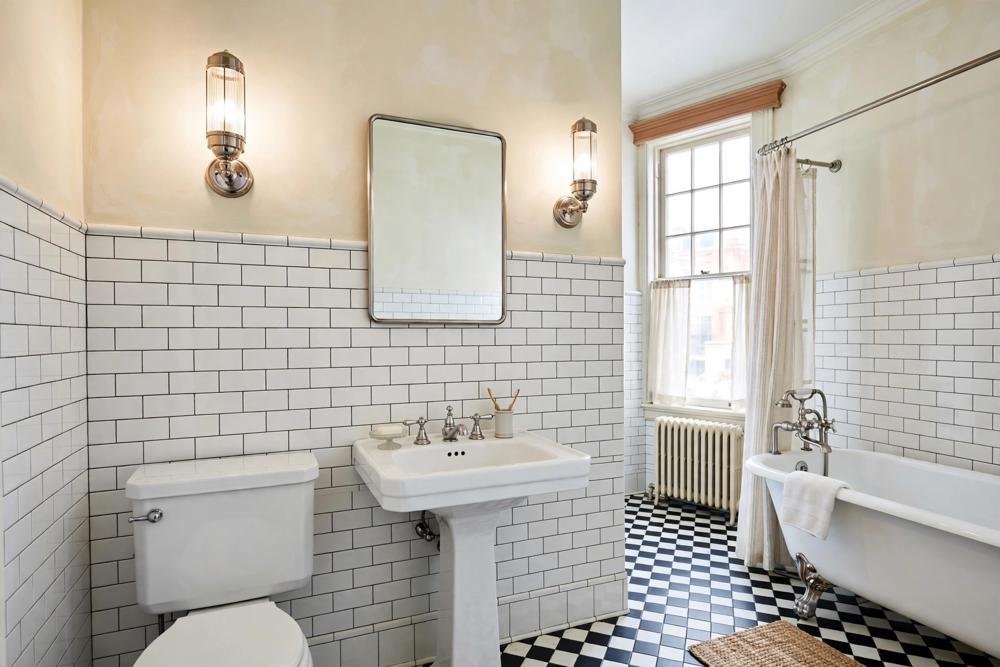
11. Small Bathroom, 1920s Style
A 1920s look suits a small bathroom well, because it is mostly white, simple and reflective. White subway tile, a large mirror and nickel fittings all help a small room feel larger, while a hex floor with a black border adds pattern without clutter.
Keep the palette tight: white, black and nickel, with one soft accent, such as sage towels or a small plant. Avoid a bold coloured wall or a busy patterned curtain as the main feature, because in a small 1920s room the tile pattern should lead. A simple white shower curtain, or a curtain with a very small pattern, keeps the era intact.
What to Avoid
- Do not replace sound original tile or fixtures just because they look old. Old is the point in a 1920s bathroom.
- Do not mix brass, chrome and black hardware in one room. Nickel, matched across the pieces, reads as 1920s.
- Do not use very large modern tiles on the main wall and call it 1920s. Size and layout matter as much as colour.
- Do not move drains or pipes without checking local codes and getting a professional.
- Do not add three bold patterns to a small room. Let the floor pattern lead and keep the rest calm.
- Do not paint over original tile as a first step. Clean and regrout first, and only paint as a last resort, knowing it is hard to reverse.
Costs: Three 1920s Budgets
Prices are estimates only and vary by location, size and product choice. Check current prices and get quotes for plumbing or electrical work.
Under $300: clean and regrout existing tile, replace washers and seals, swap hardware to nickel, add a simple mirror and period accessories. This restores the era feeling without major work.
Under $1,500: add subway wall tile to one wall or a shower surround, hex floor tile in a small room, and a pedestal sink or nickel tap set, with professional help where needed.
Over $1,500: full tile work, a clawfoot tub or a major fixture change, with plumbing and floor checks. This is a renovation, not a refresh, and it needs quotes and a clear plan before you start.
Conclusion
A 1920s bathroom is built from a few clear features: white subway tile, a hex or penny floor, a pedestal sink, a clawfoot-style tub and nickel fixtures, all kept simple and mostly white and black. Restore what is sound, recreate the rest with the right tile size and layout, and get professional help for plumbing and electrical changes. Start with cleaning and regrouting, live with the restored base, and only commit to the bigger changes once you know the era suits your room.
FAQs
How can I tell if my bathroom is originally 1920s?
Look for white subway wall tile, hex or penny floor tile, a pedestal sink, a clawfoot tub, nickel fittings and a simple rectangular mirror. If several of those are present, especially in their original sizes, the bathroom is likely from the 1920s or an early recreation of it.
Should I restore or replace original 1920s tile?
Restore it if it is sound, watertight and repairable for less than a good replacement. Clean it, regrout cracked joints, and replace only broken tiles with matching sizes. Replace it only if it is cracked, leaking, unsafe, or so damaged that repair costs more than reproduction tile.
What floor tile is most authentic for a 1920s bathroom?
White hexagon tile with a black border is the classic choice, with penny tile and black-and-white checkerboard as close alternatives. Small tiles suit small bathrooms, because they need fewer cuts and grip well underfoot.
Can I put a clawfoot tub in a small bathroom?
Sometimes, but check the room size, the door width, the floor strength and the drain position first. Cast iron tubs are very heavy, and moving a drain is a professional job. A freestanding modern tub with simple feet can give a similar look with less weight and plumbing work.
Do I need a plumber for a 1920s bathroom update?
For pipe, drain or fixture moves, yes, and for wiring changes use a licensed electrician. Old plumbing can have unusual sizes and positions, and a wrong slope or seal can cause leaks. Get a quote and keep the paperwork.
What colour palette suits a 1920s bathroom?
Mostly white and black with nickel, plus one soft accent if you like, such as sage towels or a small plant. Keep the tile pattern as the main pattern, and keep walls, curtains and textiles calm so the period features lead.