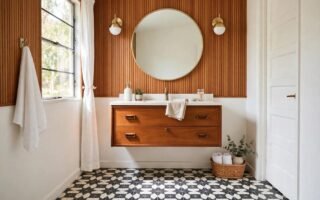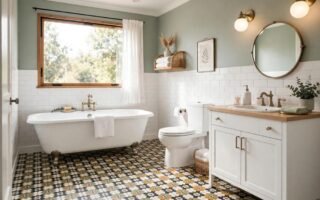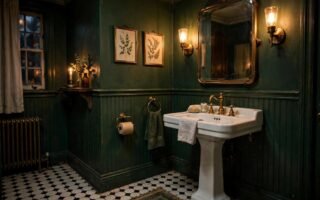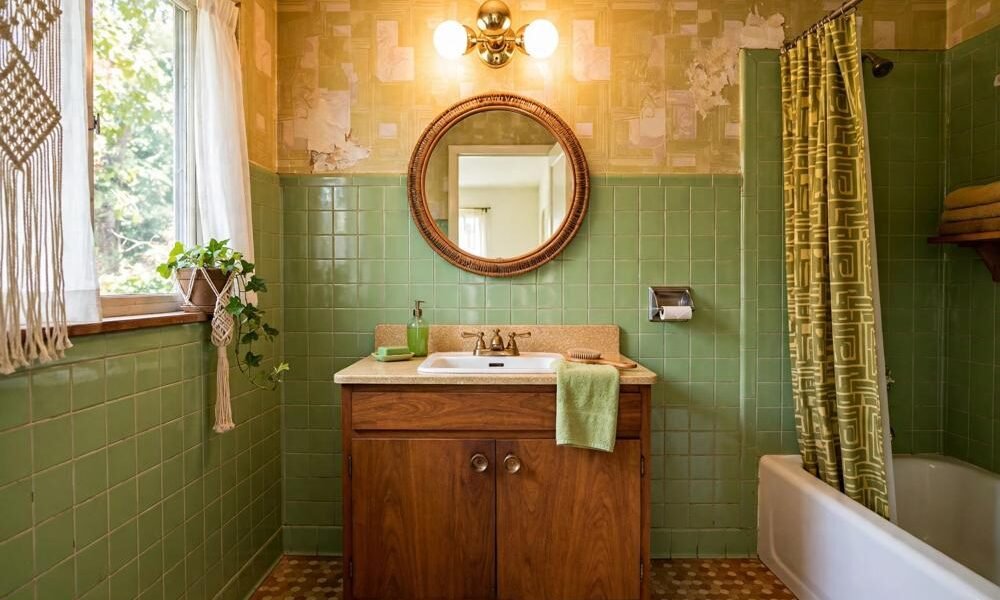
Yes, a 70s bathroom can work today, whether you are keeping an original one or recreating the look. The secret is balance: keep one or two true 70s features, such as avocado or orange tile, warm wood, or a bold pattern, and pair them with calm modern basics, so the room feels retro rather than like a costume set.
Key takeaways
- Keep one or two 70s hero features, and keep everything else calm and modern.
- Avocado green, harvest gold, burnt orange and warm brown are the core 70s bathroom colours, used in small doses.
- Patterned tile, warm wood and rounded shapes are the era’s signatures, but use only one bold pattern per room.
- If you have an original 70s bathroom, clean and repair it before you replace it: original tile and fixtures are often well made.
- Modern basics, plain white towels, simple mirrors and good lighting, stop a 70s bathroom from feeling like a museum.
1. What Makes a Bathroom 70s?
A 70s bathroom is warm, earthy and patterned. The colours are avocado green, harvest gold, burnt orange, chocolate brown and cream. The materials are warm wood, cork, patterned tile and coloured fixtures. The shapes are rounded: round mirrors, curved taps, and soft-edged vanities.
The era also loved pattern: geometric tile, floral wallpaper, and striped or patterned shower curtains. The trick today is to use one pattern, not three. A patterned floor plus a patterned curtain plus patterned wallpaper is a costume. A patterned floor plus plain walls and plain towels is a style.
2. Keeping an Original 70s Bathroom
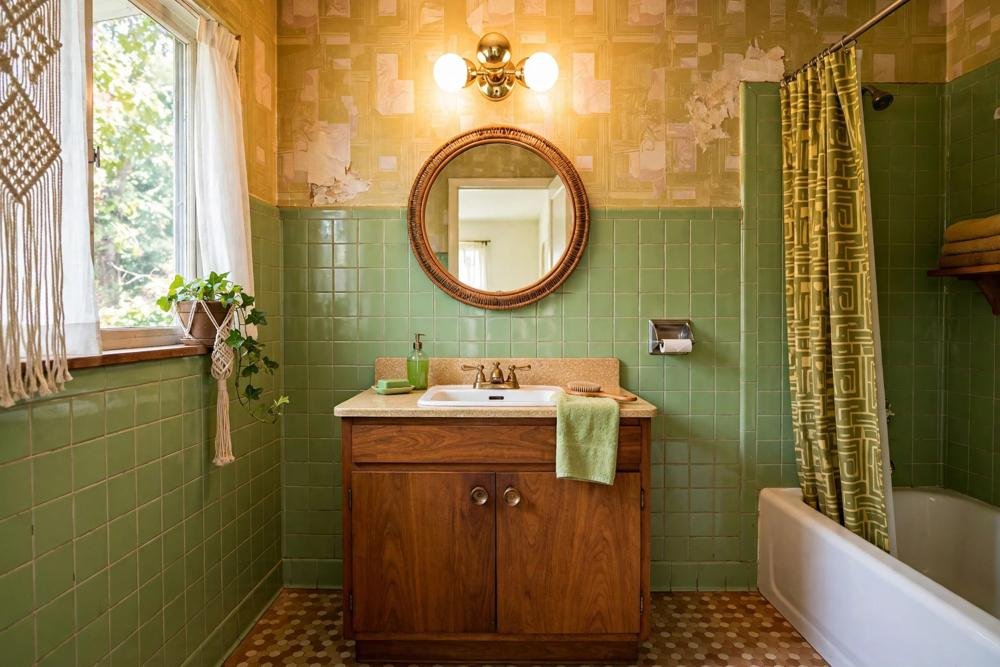
If your bathroom is genuinely from the 70s, start by cleaning and repairing, not replacing. Scrub the tile, regrout cracked joints, clean the grout, polish the fixtures, and replace only what is broken or unsafe.
Original 70s tile is often thick and well fired, and original coloured fixtures, such as an avocado tub or sink, are hard to replace in matching colours. If the coloured fixtures are sound and watertight, keeping them is usually cheaper and more authentic than replacing them with white modern pieces. A deep clean, new grout, new towels and a new mirror can transform an original 70s bathroom without any demolition.
Check the plumbing and electrics too. Old pipes, old wiring and old sealant may need professional attention, even if the room looks fine. Get a plumber and an electrician to check anything you are unsure about, especially around the tub and the shower.
3. Colour Pairings That Work
Here is a simple colour pairing chart for 70s bathrooms. Each pairing uses one 70s colour as the lead, and calm colours for the rest of the room.
Avocado green tile with cream walls, warm wood and brass: the classic 70s pairing, warm and natural. Keep the towels cream or white.
Harvest gold with soft white walls, wood tones and chrome: sunny but calm, especially with white towels and a plain curtain.
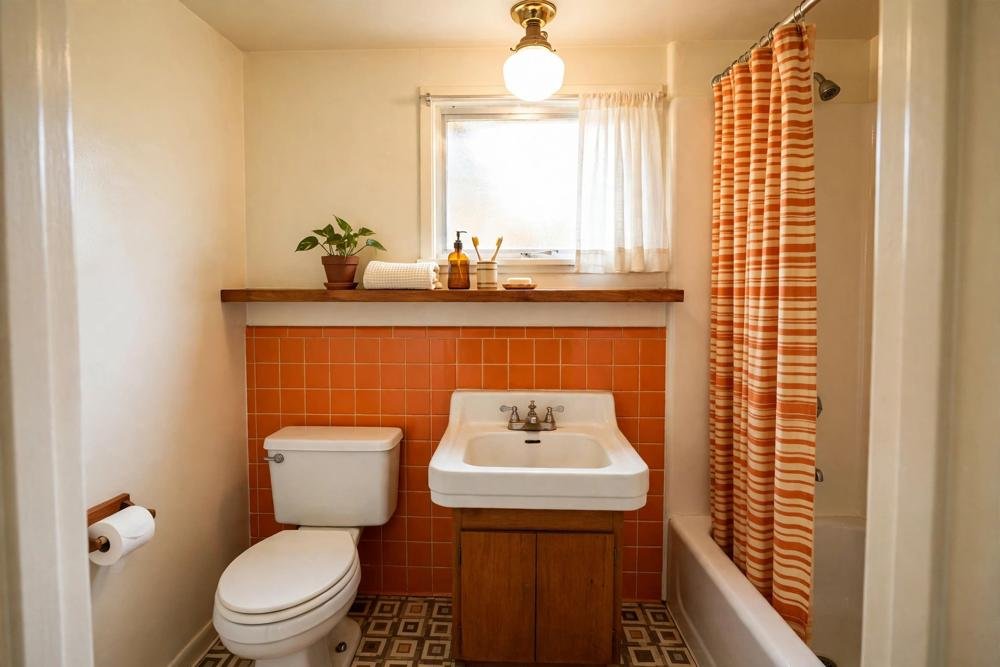
Burnt orange with cream walls, brown wood and brass: bold but warm, best used on one wall or as an accent, not on every surface.
Chocolate brown with cream walls, light wood and brass: the softest 70s pairing, good for small bathrooms, because the brown is used as an accent rather than the main colour.
Avocado plus orange together: this is the true 70s combination, but use it carefully. One avocado feature and one orange accent, such as orange towels or an orange soap dish, is enough. Avocado walls plus orange tile plus orange towels is too much.
4. Tile: Patterned, Plain or Both?
70s tile comes in two kinds: patterned and plain. Patterned tile, geometric or floral, is the era’s signature, and it works best as a feature: a patterned floor, or a patterned strip on one wall, with plain tile elsewhere.
Plain coloured tile, avocado, gold or brown, works best as the main wall or floor tile, with plain white or cream tile as a contrast. If you have original patterned tile, keep it as the feature and keep everything else plain. If you are recreating the look, a patterned floor tile in 70s colours, with plain cream wall tile, gives the era without overwhelming the room.
Grout matters here too. Light grout keeps patterned tile bright and readable, while dark grout can make a pattern look heavy. For small bathrooms, light grout is usually the better choice.
5. Warm Wood, Cork and Rounded Shapes
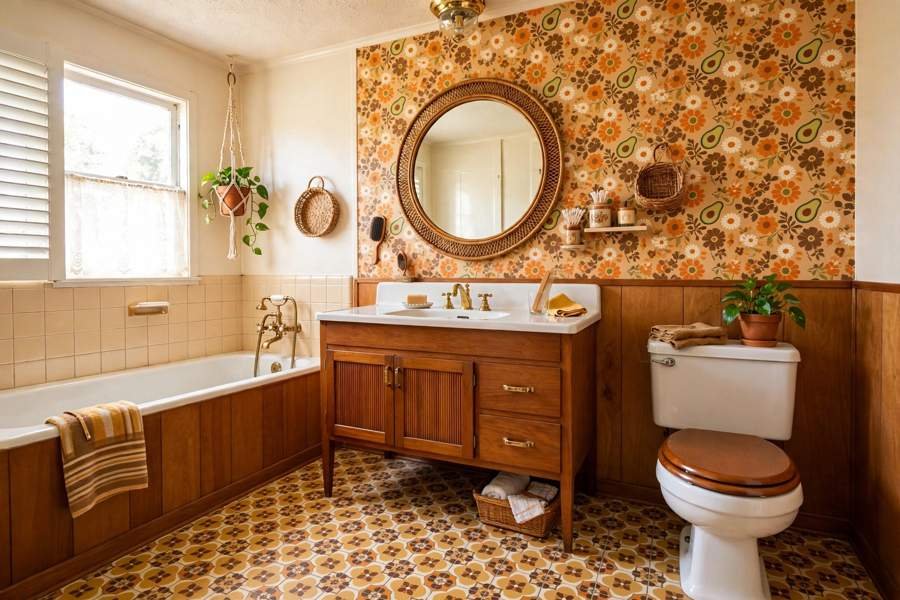
Warm wood is the 70s bathroom’s best friend. A wooden vanity, a wooden shelf, a wooden mirror frame, or a wooden bath mat all warm a tiled room and make coloured tile feel intentional rather than dated.
Cork is another 70s material that works today: a cork bath mat, a cork board, or cork tiles on one wall add warmth and texture. Rounded shapes complete the look: a round mirror, a curved tap, a round soap dish, or a soft-edged stool. Avoid very square, sharp modern shapes as the main features, because they fight the rounded 70s feeling.
6. Recreating the 70s Look Without a Costume
Recreating a 70s bathroom today is about editing. Pick one hero: the tile colour, the patterned floor, or the wood vanity. Then keep the rest modern and calm: a simple mirror, plain white towels, a plain shower curtain, and good lighting.
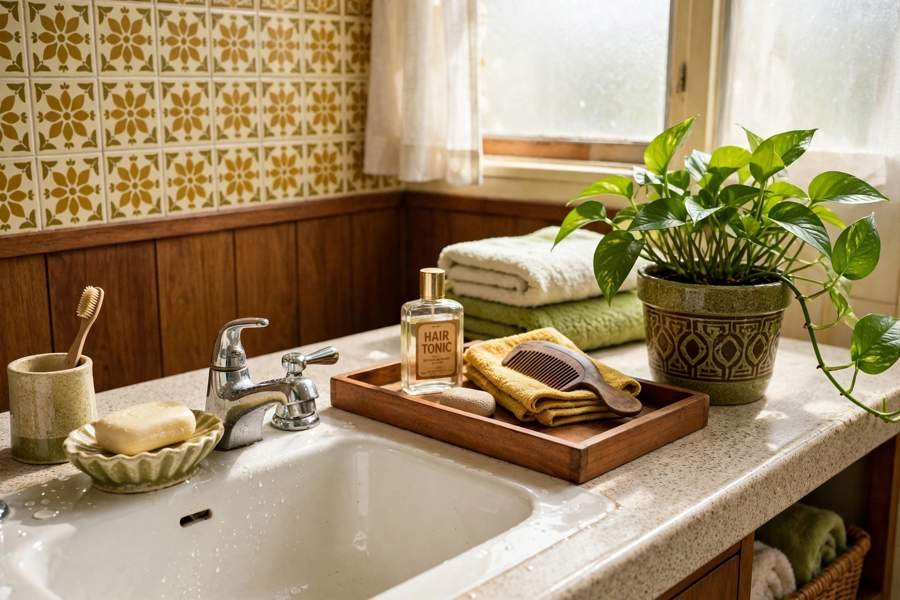
Avoid the costume traps: do not use avocado, orange and brown all at full strength in one room; do not use three patterns at once; do not add shag carpet, which is impractical in a bathroom and hard to keep clean; and do not use novelty 70s accessories as the main decor. A few well-chosen accessories, a ceramic soap dish, a wooden tray, a simple plant, are enough.
Modern lighting helps too. Warm bulbs, a simple wall light beside the mirror, and a dimmer all make 70s colours look rich rather than garish. Very cool white bulbs can make avocado and orange look harsh, so warm light is worth the small change.
Plants are another easy moderniser for a 70s bathroom, and they suit the era well. A trailing plant on a wooden shelf, a small potted plant on the vanity, or a hanging plant near the window softens coloured tile and adds life without adding another colour or pattern. Choose plants that suit a humid bathroom, keep them out of the direct splash zone, and use simple pots in cream, terracotta or wood tones, so the plant is the accent rather than the pot. One or two plants are enough. A bathroom crowded with plants plus patterned tile plus coloured fixtures can feel busy, while one healthy plant against avocado tile or warm wood feels calm and intentional, and it links the 70s love of nature to a modern, liveable room.
7. Fixtures: Keep, Restore or Replace?
Coloured fixtures are the hardest 70s decision. An avocado or harvest gold tub, sink or toilet in good condition is worth keeping, because matching replacements are rare and expensive. Clean it well, replace the seals and washers, and polish the fittings.
If a coloured fixture is cracked, stained beyond cleaning, or leaking, replace it with a simple white modern fixture. A white tub or sink does not ruin a 70s bathroom, as long as the tile, wood and accessories carry the era. In fact, one white fixture can calm a very colourful room and make the remaining coloured pieces stand out better.
For taps and hardware, brass suits 70s bathrooms well, especially with avocado and brown, while chrome suits harvest gold and orange. Pick one finish and use it consistently, as with any vintage bathroom.
8. Small Bathroom, 70s Style
A 70s look can suit a small bathroom, if the colours are used carefully. Keep the strongest colour to one feature, such as the floor or one wall, and keep the other walls cream or soft white. Use a large mirror, plain towels and a simple curtain, so the room does not feel crowded.
Avoid a dark brown ceiling, a busy patterned curtain and a patterned floor all in one small room. Pick one pattern, keep the ceiling pale, and leave clear floor space. A small 70s bathroom should feel warm and sunny, not dark and busy.
9. Do and Do Not List
Do: keep one or two true 70s features and let them lead. Do: use warm wood and rounded shapes. Do: clean and repair original tile before replacing it. Do: use warm lighting. Do: keep towels and curtains plain.
Do not: use avocado, orange and brown all at full strength together. Do not: use three patterns in one room. Do not: add shag carpet to a bathroom. Do not: mix three metal finishes. Do not: replace sound original tile or fixtures just because the colour feels dated. Do not: use very cool white bulbs that make 70s colours look harsh.
What to Avoid
- Do not turn the bathroom into a 70s museum. A home bathroom needs to work every day, not just photograph well.
- Do not ignore plumbing and electrics in an original 70s bathroom. Old pipes and wiring need checking, even if the room looks good.
- Do not paint over original patterned tile as a first step. Clean and regrout it first.
- Do not use a bold patterned floor, a bold patterned curtain and bold wallpaper together.
- Do not buy coloured fixtures without checking they match your existing tile and that the plumbing fits.
Costs: Three 70s Budgets
Prices are estimates only and vary by location and product choice. Check current prices before you buy.
Under $150: deep clean and regrout, new towels, a plain shower curtain, a round mirror and a few 70s-style accessories. This often transforms an original 70s bathroom on its own.
Under $500: add paint for the walls, a wooden shelf or vanity update, swapped hardware in one metal finish and a patterned floor rug or mat. This is where the edited 70s look starts to feel planned.
Over $500: add tile work, a fixture change, or a vanity replacement, with professional help for plumbing work. This is a renovation, not a refresh, and it needs quotes and a clear plan before you start.
Conclusion
A 70s bathroom works today when it is edited, not copied wholesale. Keep one or two true features, avocado or orange tile, warm wood, a patterned floor, and pair them with calm cream walls, plain towels, simple mirrors and warm light. Clean and repair an original 70s bathroom before you replace it, and if you are recreating the look, pick one hero and keep the rest modern. The result is a bathroom that feels warm, retro and genuinely liveable, not a costume.
FAQs
How do I make an original 70s bathroom look good today?
Clean and regrout the tile, polish the fixtures, replace only what is broken, and add white or cream towels, a plain curtain, a large mirror and warm lighting. Those changes often make an original 70s bathroom feel intentional without any demolition.
What colours go with avocado green bathroom tile?
Cream walls, warm wood and brass, with white or cream towels. Avoid adding a second strong colour at full strength. A small orange accent, such as towels or a soap dish, can work, but avocado plus orange everywhere is too much.
Can I recreate a 70s bathroom without it looking like a costume?
Yes, if you pick one hero feature, such as patterned floor tile or avocado wall tile, and keep everything else calm and modern: plain walls, plain towels, a simple mirror and good lighting. Avoid three patterns, three strong colours and novelty accessories as the main decor.
Should I keep a coloured 70s tub or sink?
Keep it if it is sound, watertight and cleanable, because matching replacements are rare and expensive. Replace it with a simple white fixture if it is cracked, stained beyond cleaning or leaking. One white fixture can actually calm a colourful 70s room.
What is the best 70s bathroom colour for a small bathroom?
Avocado green or harvest gold used as a single feature, with cream or soft white walls, a large mirror and plain towels. Keep the strongest colour to one wall or the floor, and keep the ceiling pale, so the small room feels warm rather than crowded.
Is shag carpet a good idea in a 70s bathroom?
No. Shag carpet is hard to keep clean and dry in a bathroom, and it can harbour damp and odours. Use a washable rug or a wooden or cork bath mat for the 70s warmth without the hygiene problems.