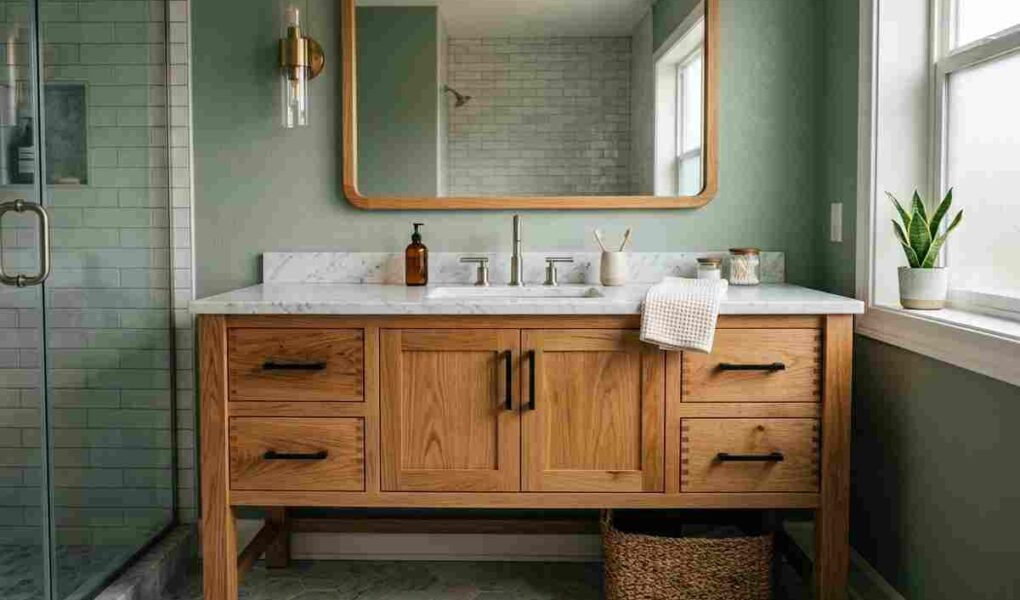
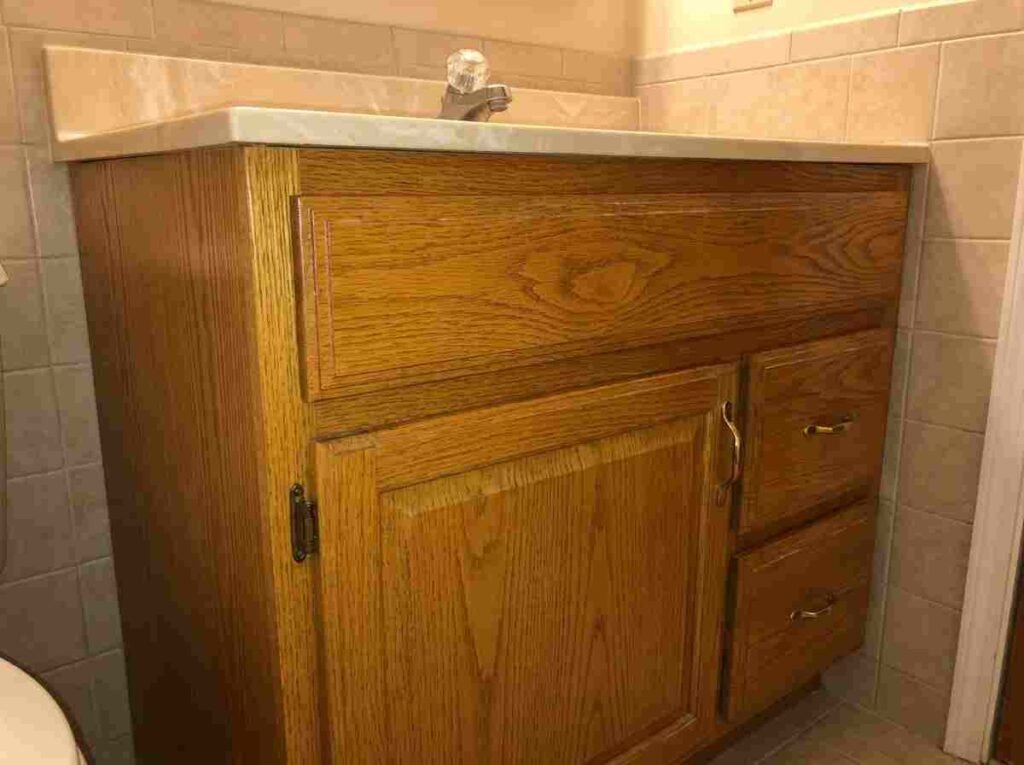
That honey-orange oak bathroom vanity is one of the most common sources of low-grade decorating frustration in homes built or renovated through the 1990s and 2000s. The vanity itself is often perfectly sound — solid drawers, good cabinet box, hardware that still works — but the colour reads as so immediately dated that the whole bathroom feels stuck in a era it has never quite escaped. The instinct is to replace it. The better answer, in most cases, is not to.
Oak vanities update well. The surface colour and finish that make them look dated are exactly that — surface level. Underneath the honey-orange tone and the heavy grain-revealing lacquer is a structurally sound cabinet that, with the right preparation and the right approach, can look genuinely different within a single weekend. Paint it and the grain largely disappears under a solid, contemporary colour. Stain it darker and the warm orange undertone gives way to something richer and more current. Pickle it and the grain that once read as dated becomes a deliberate textural feature in a pale, coastal-influenced finish.
The choice between these three approaches depends on what the vanity currently looks like, what the rest of the bathroom is doing, and how much of a transformation is actually wanted. This guide covers all three methods with the specific preparation steps that determine whether the result holds up for years — including the one step that most painting guides skip, which is why so many painted oak vanities develop yellow or brown discolouration within months of being finished.
🔗 Looking for more bathroom vanity guidance? Read our best wood for bathroom vanity guide and our standard bathroom vanity depth guide for more.
Why Oak Vanities Look Dated — And Why That’s Fixable
Oak’s distinct, prominent grain was an enormously popular choice for cabinetry through the 1990s and into the 2000s, and its warm, honey or golden orange tone became one of the defining visual signatures of that era’s bathrooms and kitchens. The wood itself isn’t the problem — solid oak is a genuinely durable, good-quality material — the issue is almost entirely about colour and finish trends moving on while the original finish stayed exactly where it was installed decades ago.
This is why updating, rather than replacing, makes so much sense in most cases: the underlying cabinet is typically structurally fine, and the entire “dated” impression comes from a surface-level colour and sheen that’s genuinely changeable.
Option 1: Painting Over an Oak Vanity
Painting is the most dramatic and most popular way to update an oak vanity, since it fully covers the wood’s grain and orange undertone with a solid, modern colour.
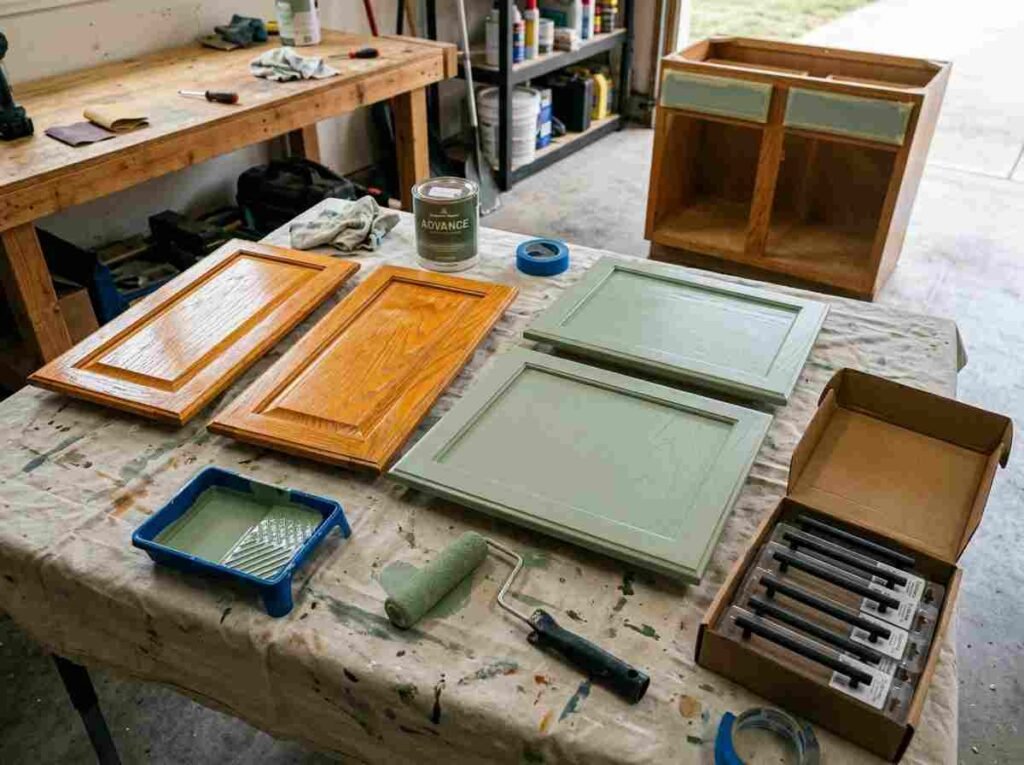
Step 1 — Remove and label everything. Take off all doors, drawer fronts, and hardware, labelling each piece’s position with masking tape and a marker so reassembly is straightforward afterward.
Step 2 — Clean thoroughly. Bathroom surfaces accumulate oils, soap residue, and grime that prevent paint from adhering properly. Clean every surface with a degreasing cleaner and allow it to dry completely before proceeding.
Step 3 — Sand lightly. A light scuff-sand with fine-grit sandpaper removes the existing glossy sheen and gives the new primer something to grip onto. This doesn’t need to remove the old finish entirely, just dull its surface.
Step 4 — Apply a stain-blocking primer. This step is the single most important one for oak specifically, since oak’s natural tannins can bleed through ordinary primer and paint over time, creating yellow or brown discolouration months after the project looked finished. A dedicated stain-blocking primer prevents this.
Step 5 — Paint in thin, even coats. Apply paint rated for high-moisture or bathroom use in two to three thin coats rather than one thick one, allowing full drying time between coats for the smoothest, most durable finish.
Step 6 — Reassemble and add new hardware. This is the moment new pulls or knobs make the biggest visual difference, completing the transformation alongside the new paint colour.
Popular paint colour choices for an updated oak vanity: soft white, warm cream, sage green, and navy blue are all consistently popular choices, each pairing well with a wide range of countertop and tile colours likely already present in the rest of the bathroom.
You can also use our free Renovation Tool
Option 2: Staining an Oak Vanity Darker
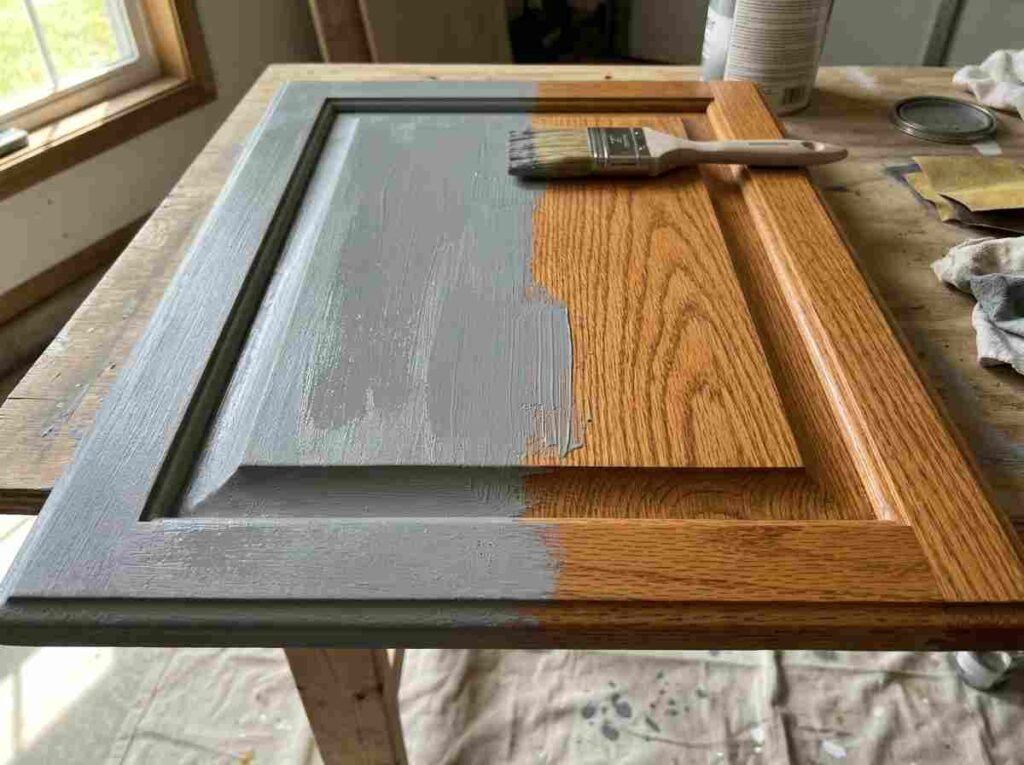
For anyone who wants to keep the natural wood look rather than painting over it entirely, staining the existing oak a darker tone is a strong middle-ground option.
Step 1 — Strip or sand back the existing finish. Unlike painting, staining requires removing the old finish more thoroughly, since stain needs to penetrate bare or near-bare wood to take evenly. Sand until the original colour and sheen are mostly gone.
Step 2 — Clean off all dust. Any remaining sanding dust will interfere with even stain absorption, so a thorough wipe-down with a tack cloth is worth doing carefully.
Step 3 — Apply a wood conditioner if needed. Oak can sometimes absorb stain unevenly across different sections of grain; a pre-stain wood conditioner helps even this out, particularly important for achieving a uniform, professional-looking result.
Step 4 — Apply the new stain in the direction of the grain, wiping away excess after a few minutes for an even tone, then allow full drying time before sealing.
Step 5 — Seal with a water-resistant topcoat. Since the vanity lives in a bathroom, finish with a few coats of a genuine water-resistant sealant rather than a standard furniture finish meant for dry rooms.
The realistic outcome to expect: staining darker reduces but doesn’t fully eliminate the visibility of oak’s strong grain pattern, since the texture itself remains even when the colour changes. For anyone who specifically dislikes oak’s grain texture rather than just its original colour, painting will deliver a more complete transformation than staining ever can.
Option 3: Pickling or Whitewashing an Oak Vanity
Pickling (also called whitewashing) is a specific technique that lightens oak while still allowing the grain to show through, producing a softer, more contemporary pale wood look rather than a fully solid painted colour.
Step 1 — Sand back the existing finish, similar to the preparation needed for staining, removing enough of the old sealant for the new product to penetrate properly.
Step 2 — Apply a white or very pale pickling stain or whitewash glaze, working it into the grain and then wiping back the surface so the colour remains concentrated within the wood’s grain lines while the raised surface areas stay lighter.
Step 3 — Allow to dry fully, then assess the depth of colour achieved. A second light application can be added if a more pronounced whitewashed effect is wanted.
Step 4 — Seal with a clear, water-resistant topcoat to protect the finish in the bathroom environment.
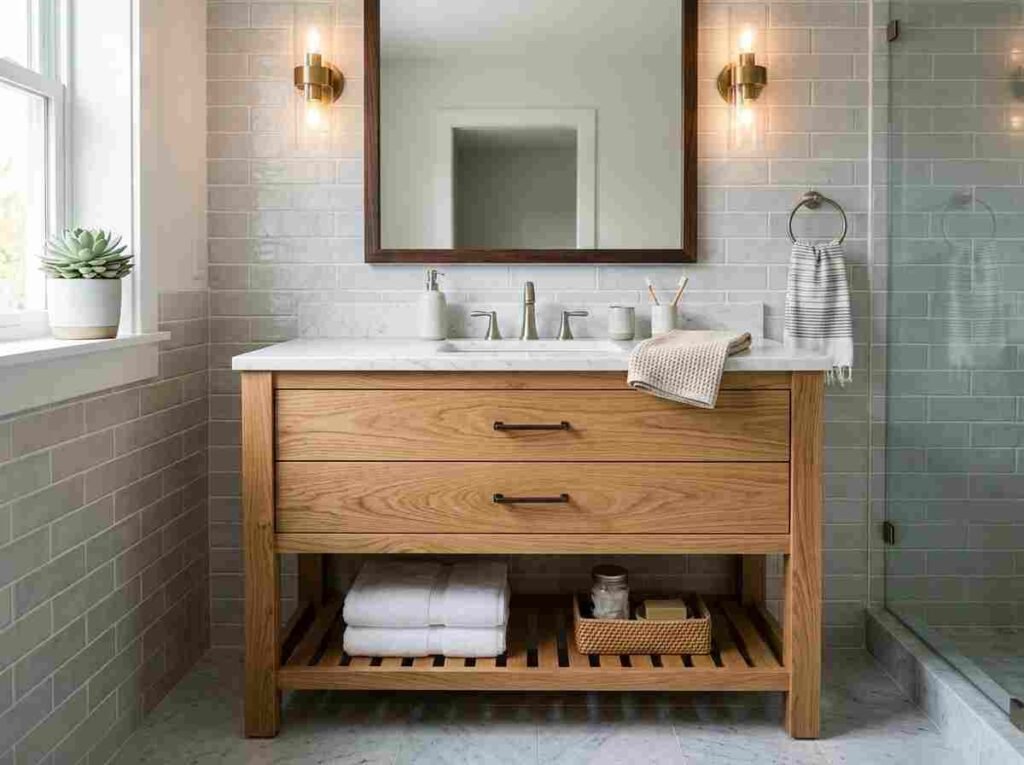
This technique suits oak specifically well because the wood’s pronounced grain is exactly what gives a pickled finish its characteristic texture — the same grain that makes oak look dated in its original honey tone becomes the visual feature that makes a pickled finish look intentional and textural rather than simply pale.
Painting vs. Staining vs. Pickling — Which Is Right for You
| Approach | Best For | What It Changes |
|---|---|---|
| Painting | Wanting a fully different, solid colour and a clean, contemporary look | Completely covers colour and largely hides grain texture |
| Staining darker | Liking real wood but wanting a deeper, richer tone | Changes colour while keeping grain fully visible |
| Pickling/whitewashing | Wanting a pale, textured, coastal or Scandinavian look | Lightens colour while emphasising grain texture |
Hardware That Completes the Update
Whichever finish approach is chosen, new hardware reliably finishes the transformation and is worth budgeting for alongside the paint, stain, or pickling materials themselves.
Matte black or oil-rubbed bronze pulls pair particularly well with a freshly painted vanity in white, cream, or a deep colour, offering strong, modern contrast.
Brass or brushed gold hardware complements both a painted finish and a stained or pickled wood finish, adding warmth that suits oak’s naturally warm undertone even once that undertone has been muted or changed.
Simple bar pulls or knobs in a clean, contemporary shape generally read as more current than the often ornate, curved hardware originally paired with honey and golden oak vanities from their original era, and swapping this hardware alone makes a noticeable difference even before any paint or stain is applied.
Should You Update or Replace?
In most cases, updating is the better choice, both financially and practically. An oak vanity in solid structural condition, with functioning drawers and a sound cabinet box, is an excellent candidate for any of the three approaches above, typically achievable over a single weekend for a fraction of full replacement cost.
Replacement becomes the more sensible option when: the cabinet itself has genuine structural damage, water damage has compromised the wood beyond a surface-level fix, or the vanity’s actual size and layout no longer suit how the bathroom is used, regardless of its finish.
Frequently Asked Questions
Q: Can I paint my oak bathroom vanity without removing the wood grain texture entirely?
A: Painting will largely cover oak’s grain texture along with its colour, since paint sits on top of the wood surface as a solid layer. If retaining some visible grain texture matters, staining or pickling are better choices than painting, since both techniques change the wood’s colour while still allowing its natural grain pattern to remain visible.
Q: How do I stop the orange or yellow tone from coming back through new paint on an oak vanity?
A: This is caused by oak’s natural tannins bleeding through ordinary paint and primer over time. Applying a dedicated stain-blocking primer before painting is the most effective way to prevent this, since it’s specifically formulated to seal in the wood’s natural tannins rather than allowing them to migrate through subsequent coats of paint.
Q: What is pickling or whitewashing an oak vanity, and how is it different from painting?
A: Pickling, also called whitewashing, involves applying a white or pale stain that’s worked into the wood’s grain and then wiped back from the flatter surface areas, leaving the grain lines more visibly coloured than the surrounding wood. Unlike painting, which creates a solid, uniform colour that largely hides the grain, pickling lightens the wood’s overall tone while actually emphasising its natural grain texture, producing a pale, textured finish rather than a flat painted one.
Q: Should I replace my oak bathroom vanity or just update it?
A: In most cases, updating is the more practical and more affordable choice, since an oak vanity’s dated appearance is almost always a surface-level colour and finish issue rather than a structural one. If the cabinet box is sound, drawers function properly, and there’s no significant water damage, painting, staining, or pickling can transform its appearance for a fraction of replacement cost. Replacement makes more sense when there’s genuine structural damage or when the vanity’s size or layout no longer suits the bathroom, independent of how it looks.
Q: What hardware should I use when updating an oak vanity?
A: Matte black or oil-rubbed bronze hardware pairs particularly well with a freshly painted vanity, offering strong contemporary contrast against light colours. Brass or brushed gold hardware works well with both painted finishes and stained or pickled wood finishes, since it complements oak’s naturally warm undertone even after the original colour has been changed. Simple, clean-lined bar pulls or knobs generally read as more current than the more ornate hardware styles originally paired with honey and golden oak vanities.