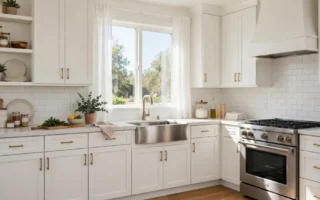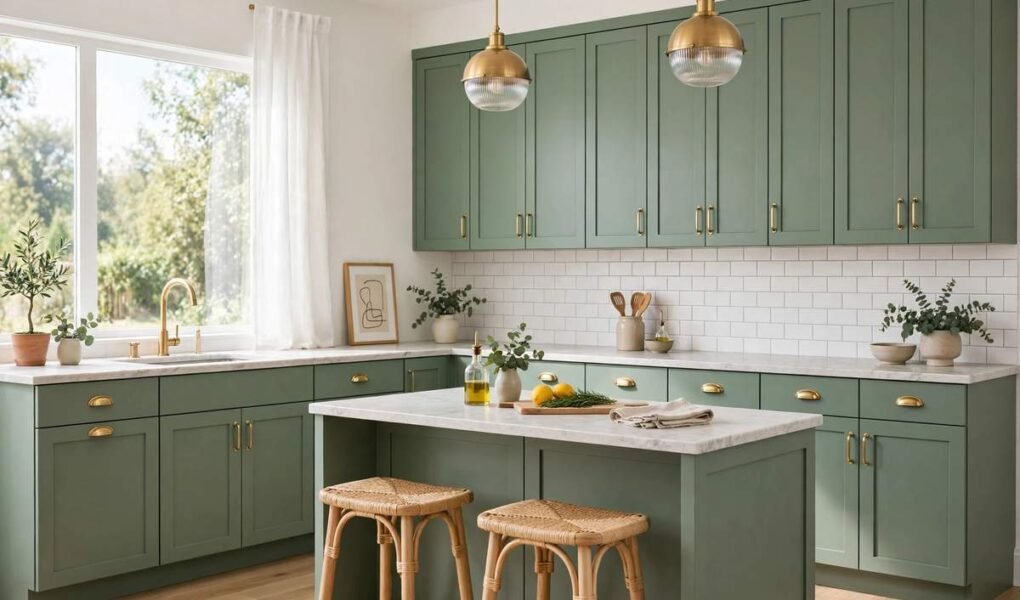
Introduction
Cabinets cover more wall space than almost anything else in a kitchen, so changing them changes the whole room. Replacing them, however, is usually the most expensive and disruptive part of a remodel.
In most kitchens, you do not need to go that far. If the boxes are solid, square, and in a layout that works, keep them and change only what you see and touch. This guide works through four ideas in order of cost and impact, with honest costs and limits, so you can pick the one that fits your cabinets and budget.
Start with a quick inspection before you buy anything. Empty one cabinet, especially under the sink, and check for water damage, swelling, or soft particleboard. If boxes are warped or falling apart, or if you want to move the sink or cooker, updating will not fix the real problem, and replacement is the better spend. If the boxes are solid, every idea below is on the table.
How to choose in five minutes
- Boxes solid, doors dated, budget smallest: paint and new hardware.
- Boxes solid, doors damaged, warped, or a style you dislike: reface with new doors and drawer fronts.
- Boxes and doors fine, kitchen just looks tired: hardware, trim, and styling alone can be enough.
- Kitchen works badly every day, even though it looks fine: spend inside the cabinets first, on pull-outs and better hinges and slides.
Most guides stop at paint versus reface. The gap they miss is choosing by cabinet condition, not just price, and the interior upgrades that make an old kitchen feel new even when the fronts barely change.
Idea 1: Paint the cabinets properly
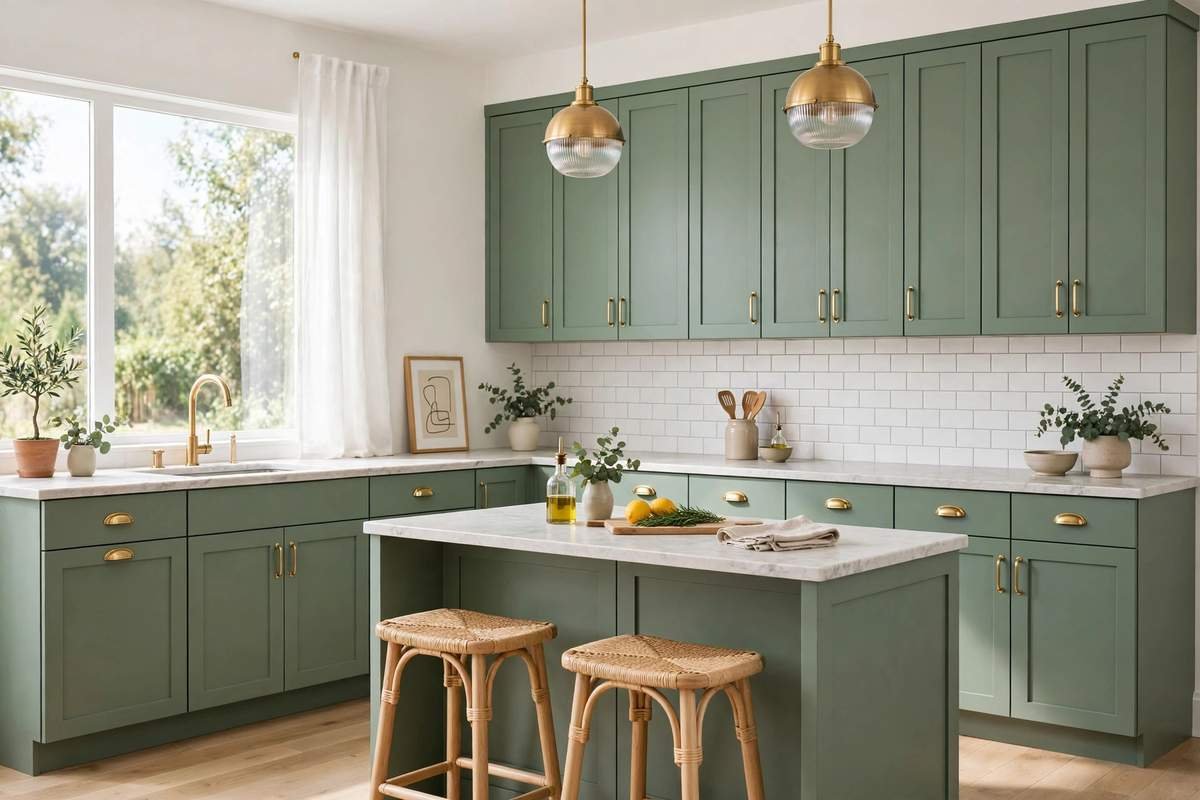
Painting is the cheapest transformation, and also the easiest to get wrong. A rushed brush job over greasy, glossy doors will chip and show brush marks within months. A properly prepared job, by contrast, can last years.
The process that matters is preparation, not colour. Clean and degrease every door, scuff-sand to remove gloss, fill dents and old hardware holes, prime with a bonding primer, and use paint made for cabinets or furniture, not ordinary wall paint. Cabinet paint is harder and stands up to cleaning, heat, and moisture far better. Spraying gives the smoothest finish, but careful rolling can work well at home.
DIY materials are often a few hundred dollars, while a professional sprayed repaint commonly runs $3,000 to $7,000 for a full kitchen. That is still far below new cabinets, but get quotes first, as the gap narrows with professional work.
Paint works best on solid wood and good quality MDF. Laminate can be painted too, but only after an adhesion test and a bonding primer, and peeling thermofoil should be repaired first, not painted over. Keep a labelled jar of paint for touch-ups, and treat the finish gently until fully cured.
Idea 2: Reface the cabinets with new doors and drawer fronts
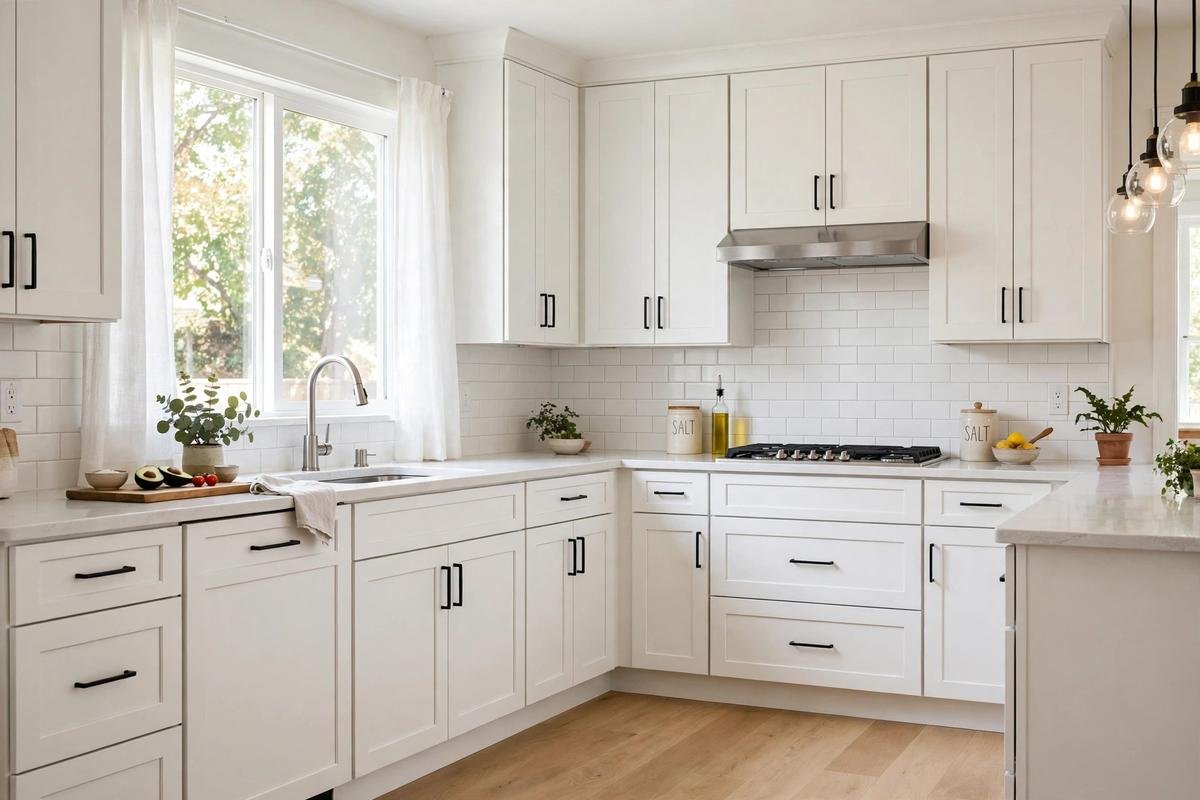
Refacing keeps the boxes and replaces everything visible: doors, drawer fronts, and a matching veneer or laminate on the exposed frames and end panels. The layout stays exactly the same, the countertops stay in place, and there is no demolition.
This is the right choice when the door style is the problem, not the boxes. Heavy arched oak doors, damaged fronts, or peeling thermofoil are good reasons to reface rather than paint. Shaker doors simplify a busy kitchen, while slim flat fronts look more modern. Order one sample door before committing, and measure carefully, as a small error leaves uneven gaps.
Professional refacing commonly costs $4,000 to $9,000, or roughly $100 to $300 per door or drawer front installed. Laminate and thermofoil sit at the lower end, real wood veneer at the higher end. DIY materials can cost $700 to $2,000, but allow two to four weekends, plus two to four weeks for door delivery.
Refacing is not a cure for bad boxes. If the layout does not work, or the boxes are failing, it preserves the problem behind a new face. When boxes are sound and the layout works, it gives the closest result to new cabinets for roughly a third to a half of the cost.
Idea 3: Change the hardware, add trim, and open up a few doors

If your doors are in good shape, hardware alone can change the kitchen more than people expect, for $200 to $800 in parts. The catch is hole spacing. Measure the centre-to-centre distance on your existing pulls before you shop, and match it, or you will be filling holes and touching up paint on every door.
Choose one finish and use it consistently, and match the scale: long bar pulls suit wide drawers and give a more modern feel. While doors are off for painting or refacing, upgrade to soft-close hinges and better drawer slides. They are invisible in photos, but they make the kitchen feel new every time you open a door.
Two low-cost additions work well with hardware. First, flat doors can gain a Shaker look with narrow wood or MDF strips fixed around the perimeter, then filled, sanded, primed, and painted. This only works for painted cabinets, and trim must be sized carefully so it does not crowd small drawer fronts or stop doors closing. Second, swapping one or two solid upper doors for glass fronts breaks up a wall of cabinets. Keep glass to one or two cabinets, and only where the contents will look tidy.
Idea 4: Upgrade inside the cabinets and finish the details around them
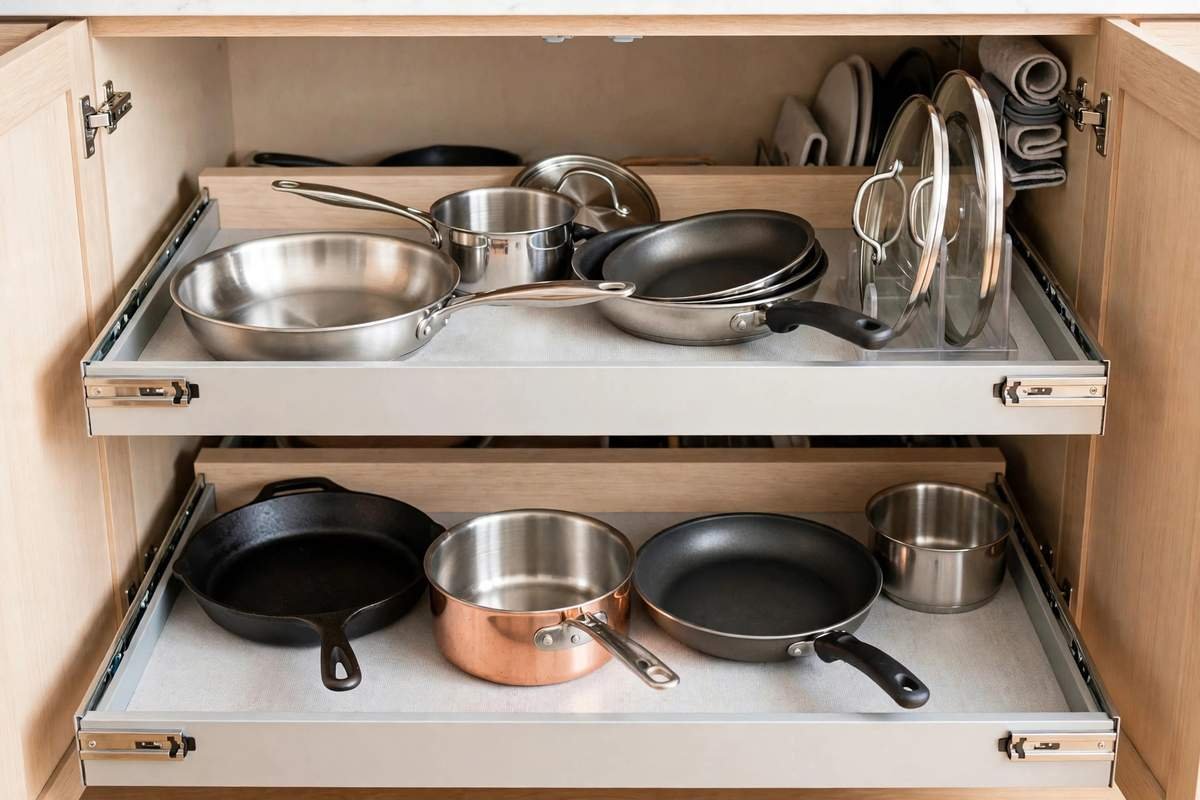
The upgrade most often skipped is also the one with the highest daily return: the inside of the cabinets. Pull-out shelves, tray dividers, a trash and recycling pull-out, and corner solutions can be added to existing cabinets for roughly $100 to $400 per opening installed. They do not show in a wide photo, but they end the daily crouching, reaching, and stacking that makes an old kitchen feel old.
Pair interior upgrades with small details around the cabinets: replace yellowed outlet covers, re-caulk where the counter meets the wall, and consider under-cabinet lighting. Light on the worktop makes even unchanged cabinets look cleaner and more intentional.
If you must choose where to spend first, spend inside before you spend on decoration. A beautiful door hiding a chaotic, hard-to-reach cabinet will disappoint within a week; a well-organised cabinet behind a freshly painted door feels new every day.
What to avoid
- Painting over grease, gloss, or peeling thermofoil without proper prep and primer, which leads to peeling.
- Using ordinary wall paint on cabinets, which chips and peels far faster than cabinet paint.
- Buying new hardware without matching the existing hole spacing, then facing filler and touch-ups on every door.
- Refacing cabinets with water-damaged, warped, or structurally weak boxes, instead of replacing those sections.
- Changing the layout by moving the sink or cooker while keeping old boxes, which usually needs a fuller remodel.
- Spending everything on looks and nothing inside, so the kitchen photographs well but still works badly.
Frequently asked questions
Is it cheaper to paint or reface kitchen cabinets?
Yes, painting is cheaper upfront. DIY paint materials are often $200 to $600, while professional spraying is commonly $3,000 to $7,000. DIY refacing materials are often $700 to $2,000, and professional refacing commonly runs $4,000 to $9,000. Paint when doors are in good shape; reface when doors are warped, peeling, or a style you dislike.
Can I reface laminate cabinets?
Yes, provided the surface is clean and not peeling. Sand lightly to rough up the gloss before applying adhesive or veneer, and repair peeling sections first.
Do I need to remove countertops to reface cabinets?
No. Refacing covers doors, drawer fronts, face frames, and exposed end panels, while boxes and countertops stay in place, with far less mess than full replacement.
How long does a cabinet update take?
A hardware swap can be done in a day. DIY painting usually takes a weekend to several days, allowing for prep and curing. DIY refacing often takes two to four weekends, plus two to four weeks for door delivery.
Can I update cabinets that have damage?
Minor damage, such as loose hinges or a sagging door, can usually be repaired during the update. Significant water damage, swelling, or structural weakness usually cannot, and those sections should be replaced rather than covered up.
Can I update kitchen cabinets without painting?
Yes. Swap hardware, replace door fronts, add trim or glass inserts, and upgrade hinges, slides, and interiors. Painting is the most dramatic single change, but it is not the only route to a fresh kitchen.
Conclusion
You do not need new cabinets to get a new kitchen. If the boxes are solid, paint them properly, reface them with new doors, refresh the hardware and trim, and upgrade the interiors you use every day. Choose by condition first and price second, and order samples before you commit.
Start with the inspection: one empty cabinet and an honest note on which boxes pass and which fail. That tells you whether to paint, reface, refresh, or replace, and it costs nothing but an afternoon.
For the rest of the kitchen, see our guides to small kitchen remodel ideas and small kitchen ideas, and our outdoor kitchen backsplash ideas for the matching outdoor space.