Introduction
A kitchen that is organised by zone is easier to cook in than a kitchen that is organised by type. When everything you need for a task is in one place, you do not walk across the kitchen for every step, and counters stay clear because each zone has a job.
This guide sets up three main zones, cooking, prep, and cleaning, plus two supporting zones, storage and serving, so even a small kitchen can work like a larger one. It also covers how to map zones in different layouts, how to add small mini zones without clutter, and how to keep the system working after the first tidy up.
The gap in many competitor guides is that they list the zones and stop there. They do not show what to do when zones overlap, when a kitchen is galley shaped or single wall, or when a household has two cooks, children, or a coffee habit that takes over the counter. This guide fills those gaps with practical placement rules you can try today, without a remodel.
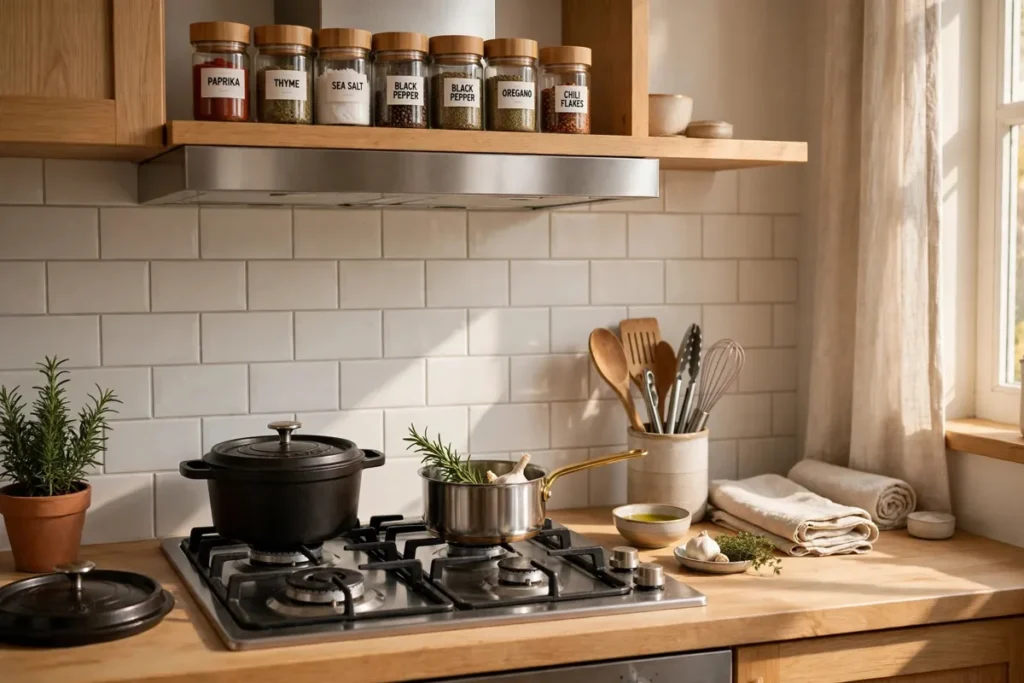
Idea 1: Cooking zone near the stove
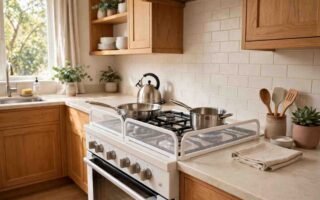
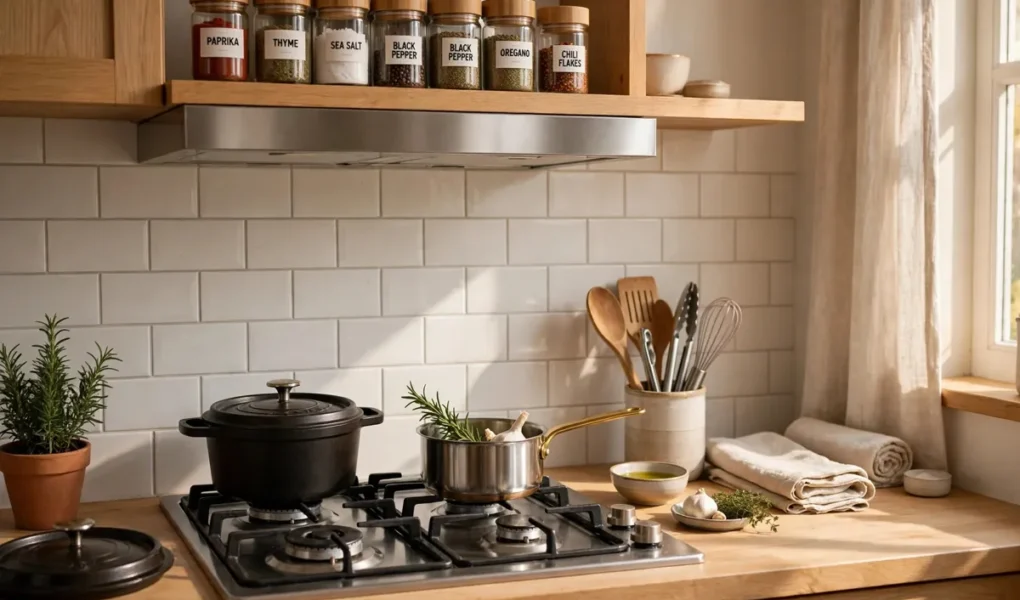
The cooking zone is around the stove and oven. It should hold pots, pans, cooking utensils, oils, spices, and oven mitts, all within arm’s reach of the stove, not across the kitchen.
Use a wall rail or magnetic strip for utensils, a spice rack near the stove, and a pot drawer or cabinet beside the stove, so you do not have to carry hot pans across the room. Keep everyday cooking spices here, and move rarely used or baking only spices to storage. That one split stops the spice cupboard becoming a search every night.
Keep the cooking zone clear of non cooking items, like mail, keys, or cleaning supplies, which belong in other zones and clutter the stove area. Give mail and keys a landing zone outside the cooking path, even if it is only a small tray by the door or on a shelf near the entrance. When the landing zone has a home, it stops migrating to the stove counter.
For safety, keep towels, paper, and plastic away from burners, and keep a lid nearby for the pan you use most. If you share cooking, agree one home for each tool and keep it consistent.
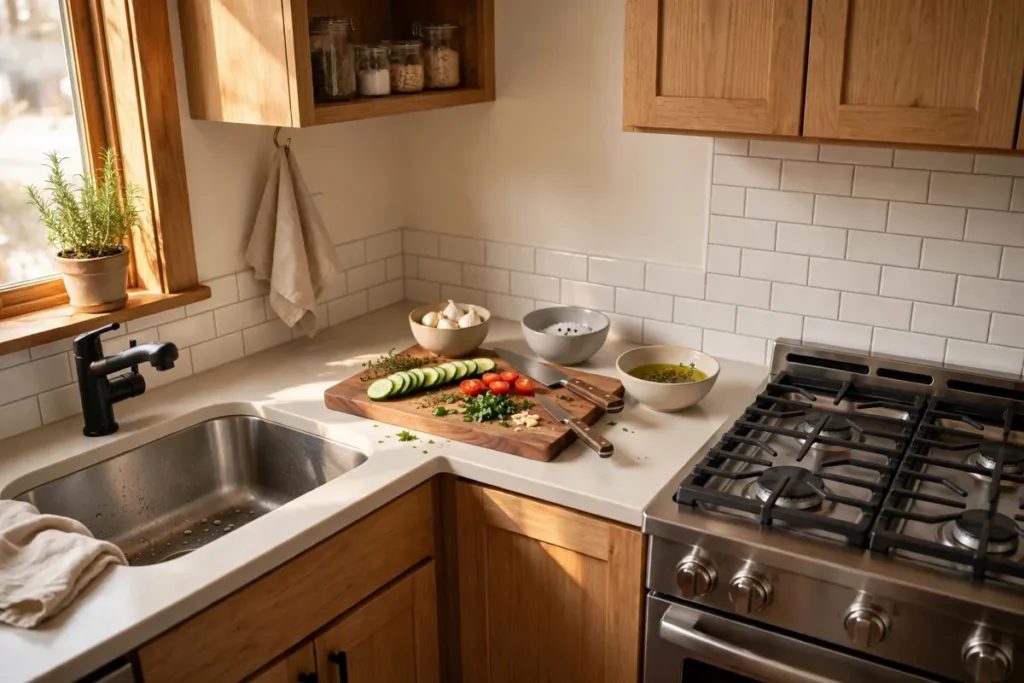
Idea 2: Prep zone with counter and cutting tools
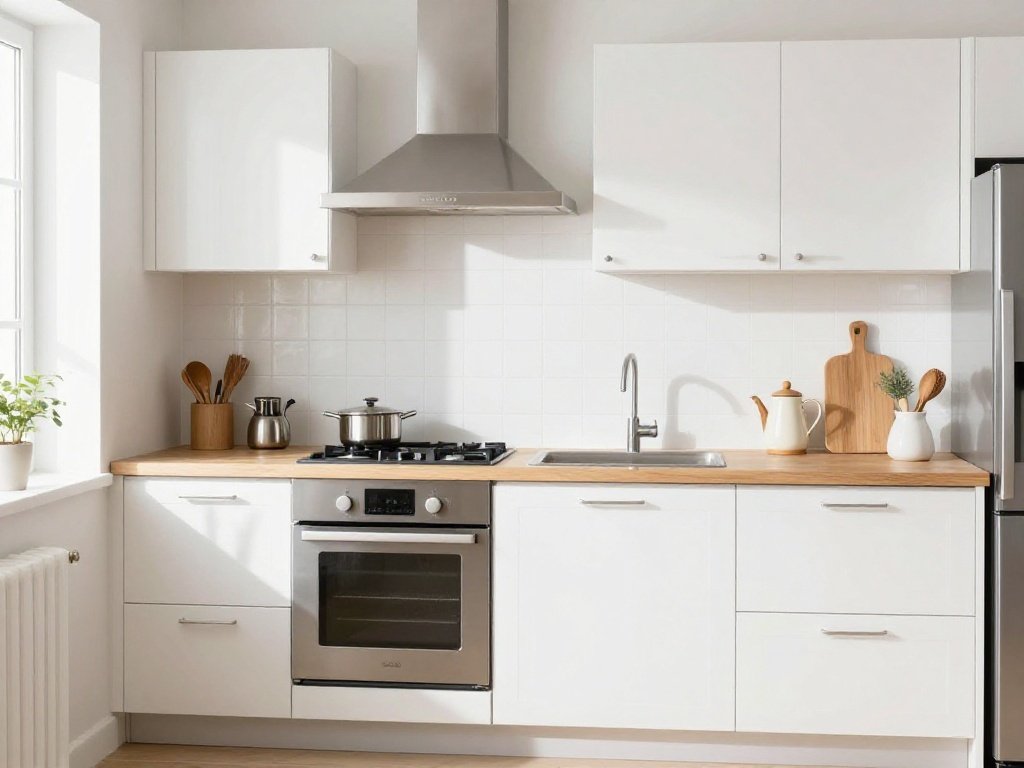
The prep zone is a clear counter area, ideally between the sink and the stove, with cutting boards, knives, mixing bowls, and a bin for scraps. It should be the largest clear counter in the kitchen, because most cooking time is prep time.
Keep knives on a magnetic strip or in a knife block in the prep zone, not in a drawer across the kitchen. Keep a small compost or scrap bin in the prep zone, so you do not walk to the main bin for every peel. A bowl on the counter works as a scrap bowl if you do not want another bin, and it can be emptied into the main bin at the end of prep.
If your kitchen is very small, the prep zone can be a rolling cart or a cutting board over the sink, which gives you extra prep space when you need it and folds away when you do not. A board over the sink is especially useful in a single wall kitchen, where counter space is one straight run and every inch counts.
Protect the prep zone from appliances that live there by default. A toaster, kettle, or blender that is used once a week does not need to sit on the main prep counter. Move weekly appliances to a cabinet or a shelf in the storage zone, and keep only daily items on the prep counter. This single change often frees more space than buying new storage.
Prep also needs light. If your prep counter is dark, add a simple under cabinet light or move prep to the brightest counter, even if that changes the ideal sink to stove order. A zone that you cannot see well will not be used, no matter how logical its location looks on paper. For more on that, see the earlier guide to kitchen lighting ideas under cabinet on this site.
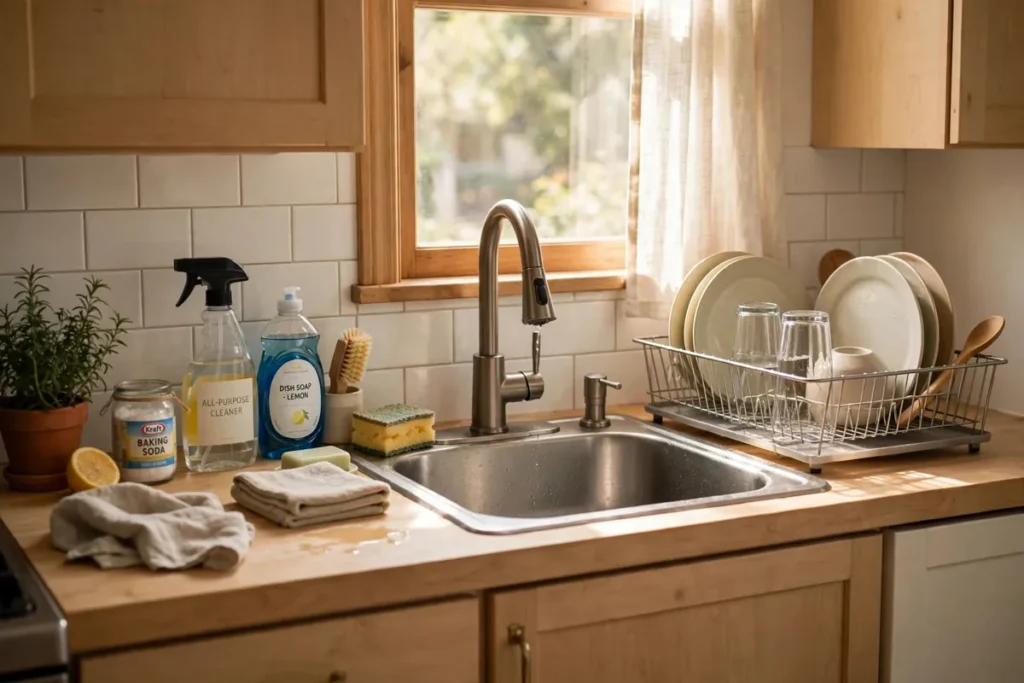
Idea 3: Cleaning zone around the sink
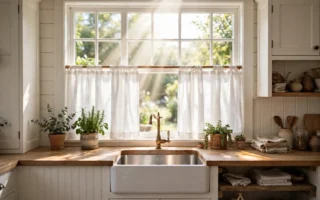
The cleaning zone is around the sink and dishwasher. It should hold dish soap, sponges, dish towels, a drying rack, and cleaning supplies, all near the sink, not in a bathroom or hallway closet.
Use an under sink pull out for cleaning supplies, a dish rack that fits over the sink or beside it, and a towel hook near the sink, so drying and cleaning happen in one place. Put everyday plates and glasses in a cabinet near the dishwasher if you can, so unloading clean dishes is a short pivot, not a walk across the kitchen.
Keep cleaning supplies in their original containers and out of children’s reach, and use a washable liner under the sink to spot leaks early. Check under the sink once a month for drips, because a slow leak can damage a cabinet long before it is noticed. Keep a spare sponge and a cloth in the cleaning zone, so you are not hunting for one when something spills.
The cleaning zone also needs a home for trash and recycling. If the bin lives far from the sink, scraps and packaging pile up on the counter. A pull out bin near the sink, or a small bin beside the prep zone, keeps the cleaning flow short. Separate recycling only if you have a second small container that fits the zone, otherwise recycling will end up mixed or left on the floor.
Clean as you go is easier when the cleaning zone is stocked. A sink that is already full of dishes makes prep feel harder, because there is nowhere to rinse a board or wash hands. Aim to leave the sink empty at the start of cooking, even if that means a quick five minute unload before you begin.
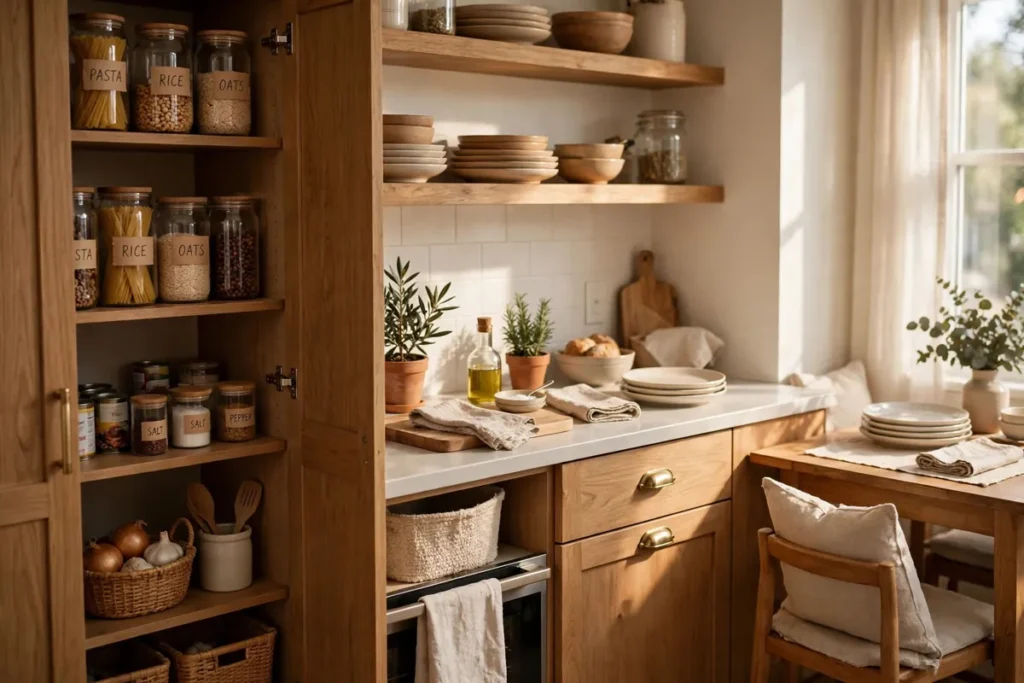
Idea 4: Storage and serving zones
Storage zone is where food lives: pantry cabinet, fridge, and freezer. It should be near the prep zone, so you can take ingredients to prep without crossing the cooking zone. Put everyday pantry items at eye and hand level, and move rarely used items higher or lower. Clear containers help for flour, rice, and snacks, but only decant what you use often, otherwise containers become another chore.
Serving zone is where plates, glasses, and cutlery live, near the dining area or island, so setting the table does not require walking through the cooking zone. If you have a breakfast bar or island seating, keep a small serving drawer there with cutlery and napkins, so breakfast does not pull everyone through the cooking zone.
In a small kitchen, zones will overlap, and that is fine. The goal is not perfect separation, it is that each item has one home, in the zone where it is used most, so you always know where to find it and where to put it back. Overlap works best when it is planned by time of day. For example, a counter can be a coffee zone in the morning and a prep zone at dinner, if the coffee items move to a tray and the tray moves to a shelf.
How to map your zones in 15 minutes
Start by standing in your kitchen and pointing to where you actually chop, cook, wash, store food, and set the table. Do not start from a diagram. Start from your habits, because a zone map that ignores how you cook will be abandoned in a week.
Next, write each zone on a sticky note and stick it on the cabinet or wall where you think it belongs. Live with the notes for three days before buying any organisers. You will quickly see which notes feel right and which ones need moving. Buying first and mapping second is the most common waste in kitchen organisation.
Then move only one zone at a time. Start with prep, because a clear prep counter changes every meal. Move its tools together, test it for a week, then move cooking, then cleaning. A whole kitchen move in one day feels exciting and is hard to maintain, because no one remembers where the new homes are.
Finally, do a short audit. Cook one normal meal and notice every time you walk across the kitchen or open three cupboards for one task. Each walk is a clue. Move that one item closer to its task, and repeat the audit after a week. Small moves beat a big reorganisation.
Zones by kitchen layout
In a galley kitchen, put sink and prep on one side and stove and fridge on the other if you can. That creates a natural turn from prep to cook, with the sink close for rinsing. Keep the walkway clear, and use a rolling cart for extra prep that can be moved aside when two people need to pass.
In a single wall kitchen, place the sink in the middle, with the stove on one side and the fridge on the other. This forms a short work line without a triangle. Add a freestanding cart, a board over the sink, or a fold down shelf to create a prep island that tucks away when not in use.
In an L shaped kitchen, use the corner for storage that is easy to reach, like a pull out or lazy Susan, and keep the two arms for prep and cooking. Do not let the corner become a dead zone for appliances you never use. If the corner is hard to reach, store large, light items there, like baking trays, and keep daily tools on the straight runs.
In a U shaped kitchen, you have the most zone separation, but also the most risk of trapping yourself. Keep the cooking zone on one arm, prep on another, and cleaning near the sink, and leave the middle clear for movement. Do not fill the middle with an island that blocks the path between zones.
Mini zones that help without clutter
Once the five core zones work, add only the mini zones you actually use. A coffee or tea zone groups the maker, mugs, beans or tea, and sugar on a tray in one corner, away from the stove. A baking zone groups flour, a mixer, baking trays, and measuring tools in one cabinet, so baking does not pull items from four zones.
A lunchbox or snack zone in a low drawer helps children and busy mornings, because it keeps family traffic out of the cooking zone. A lunch zone should hold containers, water bottles, and snacks that are safe to grab without help, and it should be away from knives and the stove.
The rule for mini zones is simple. If a mini zone saves a daily trip or keeps traffic out of the cooking path, keep it. If it only adds another tray of items that are rarely used together, remove it. One useful mini zone beats three decorative ones.
Inside drawers and cupboards
Zones work at cabinet level, but they also work inside a drawer. Split a mixed utensil drawer into a cooking drawer near the stove and a prep drawer near the sink. The cooking drawer holds spatulas, tongs, and a whisk. The prep drawer holds a peeler, can opener, and measuring spoons. That five minute split removes daily digging.
Inside cupboards, use vertical space. Add a shelf riser for plates or mugs, and keep heavy items low, everyday items at waist to eye level, and light, rarely used items high. Label only the zones that drift most, usually pantry and cleaning. For kitchen hardware such as handles and knobs, choose fittings that are easy to grip when you open these zones every day.
What to avoid
- Storing everything by type, all spices together even if some are rarely used, instead of by task
- Putting daily items far from where they are used
- Mixing cleaning supplies with food storage
- No clear prep counter, because every counter is covered with appliances or mail
- No landing zone for keys, mail, or bags, so they end up on the prep counter
- Buying organisers before mapping zones, so bins fit the cabinet but not the workflow
- Creating too many mini zones, so the kitchen gains trays but loses counter space
- Keeping broken or duplicate tools, which fill zones that should hold daily items
- Ignoring traffic flow, so guests or children cross the cooking zone to reach snacks or plates
Weekly reset to keep zones working
Zones drift. A cooking tool ends up in prep, a snack ends up in cleaning, and a counter slowly fills again. A 15 minute weekly reset stops drift before it becomes a full reorganisation.
Each week, return five items to their zone homes, wipe the prep counter, check the cleaning zone stock, and remove one item that does not belong in the kitchen. That last step matters most, because kitchens collect items that belong elsewhere, like tools, school papers, or chargers.
Do the reset at the same time each week, for example Sunday evening or after the weekly shop.
Frequently asked questions
What are kitchen zones?
Zones are areas grouped by task: cooking near the stove, prep on a clear counter, cleaning around the sink, storage for food, and serving for plates and glasses. Each zone holds the tools for that task.
How do I set up zones in a small kitchen?
Start with three zones: cooking, prep, and cleaning. Put each item in the zone where you use it most, even if zones overlap, and keep one clear prep counter.
Where should pots and pans go?
In the cooking zone, in a cabinet or drawer beside the stove, or on a wall rail near the stove, not across the kitchen from the stove.
Where should cleaning supplies go?
In the cleaning zone, under or near the sink, in a pull out organiser, in original containers, and out of children’s reach.
How do zones save time?
They reduce walking and searching. When everything for a task is in one place, you cook faster, clean faster, and counters stay clear because each item has a home.
Can zones work in a very small kitchen?
Yes, even more so. Use a rolling cart for prep, a magnetic strip for knives, and a pull out for cleaning supplies, so small zones work in a small space.
Conclusion
Organise by zone, not by type. Put cooking tools near the stove, prep tools on a clear counter, cleaning tools near the sink, food in storage, and plates near serving.
Start with one zone, move its items together, and live with it for a week before changing the next zone. That simple system will make cooking faster and counters clearer, and it links naturally to the next parts of your kitchen cluster: dining nooks, window treatments, remodel budgets, and countertop care.